

Raised Prints
What Are TPU 3D High Build Transfers?
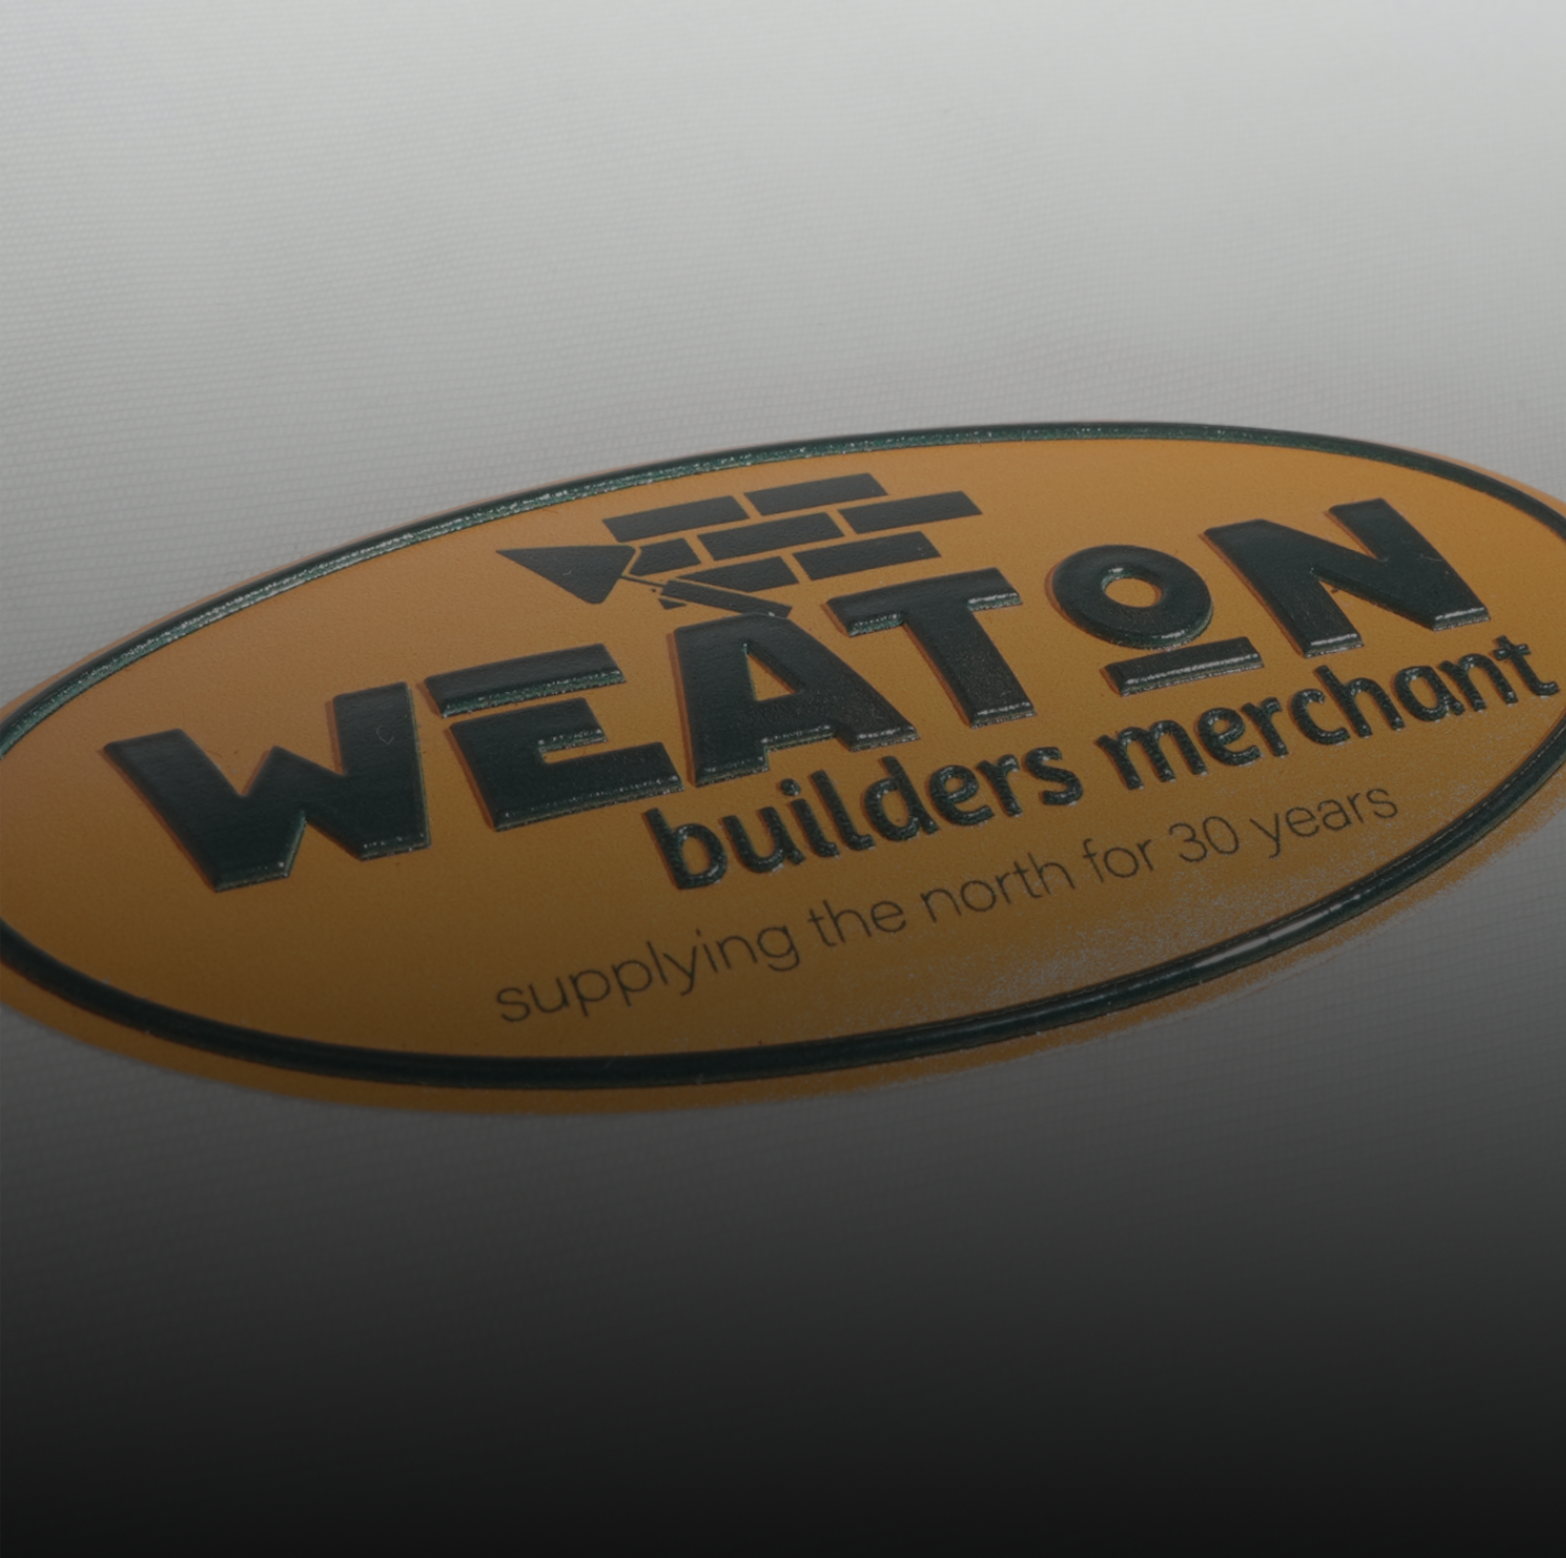
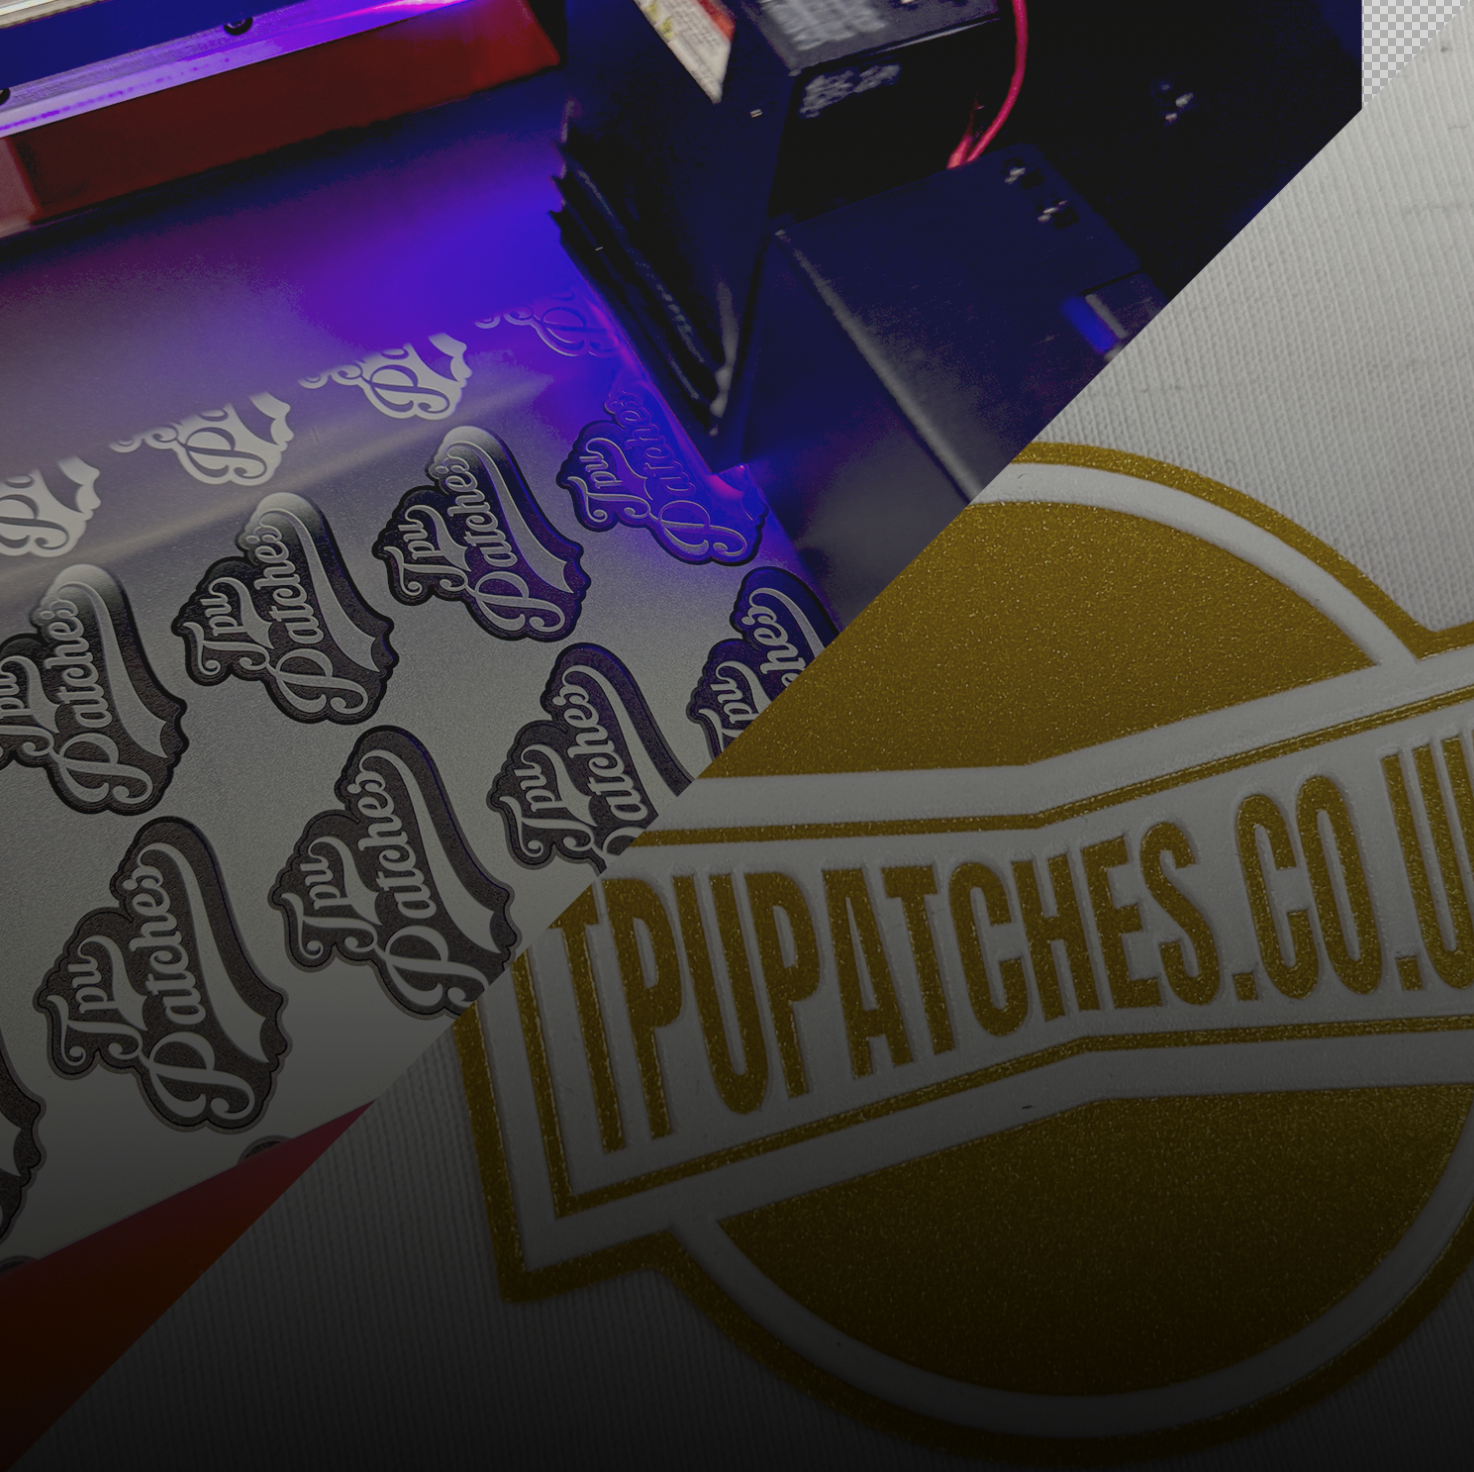
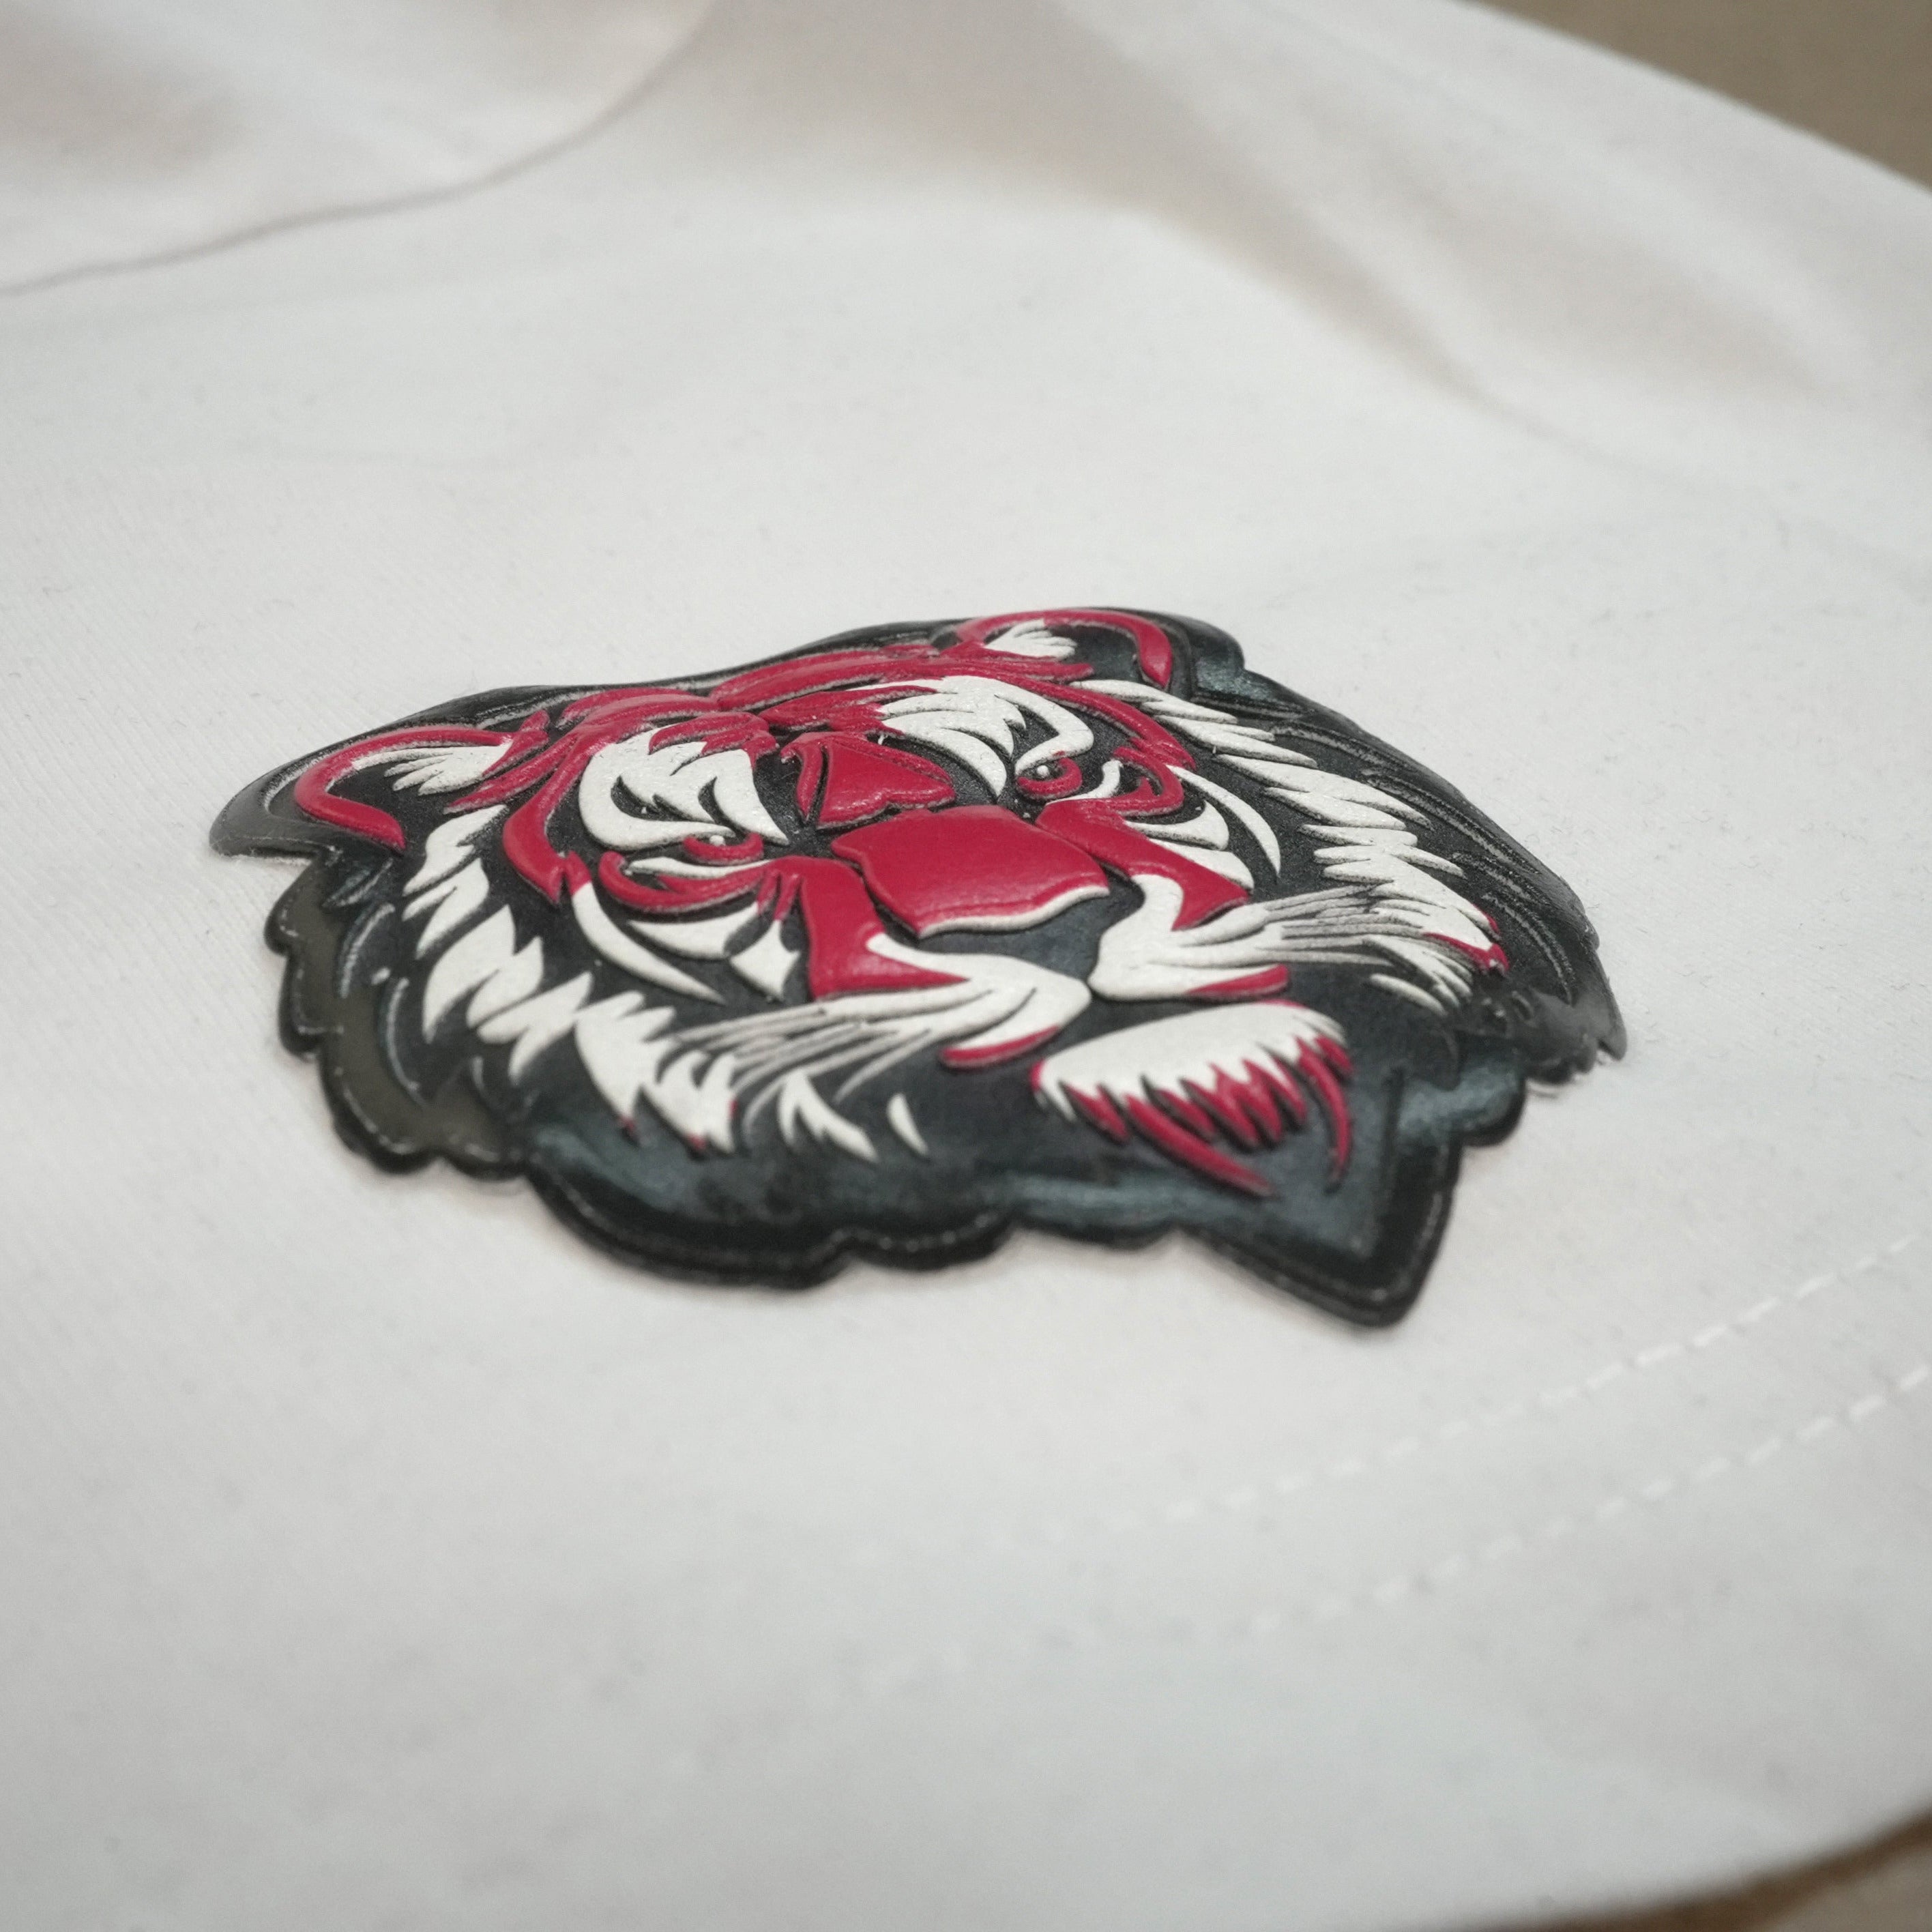
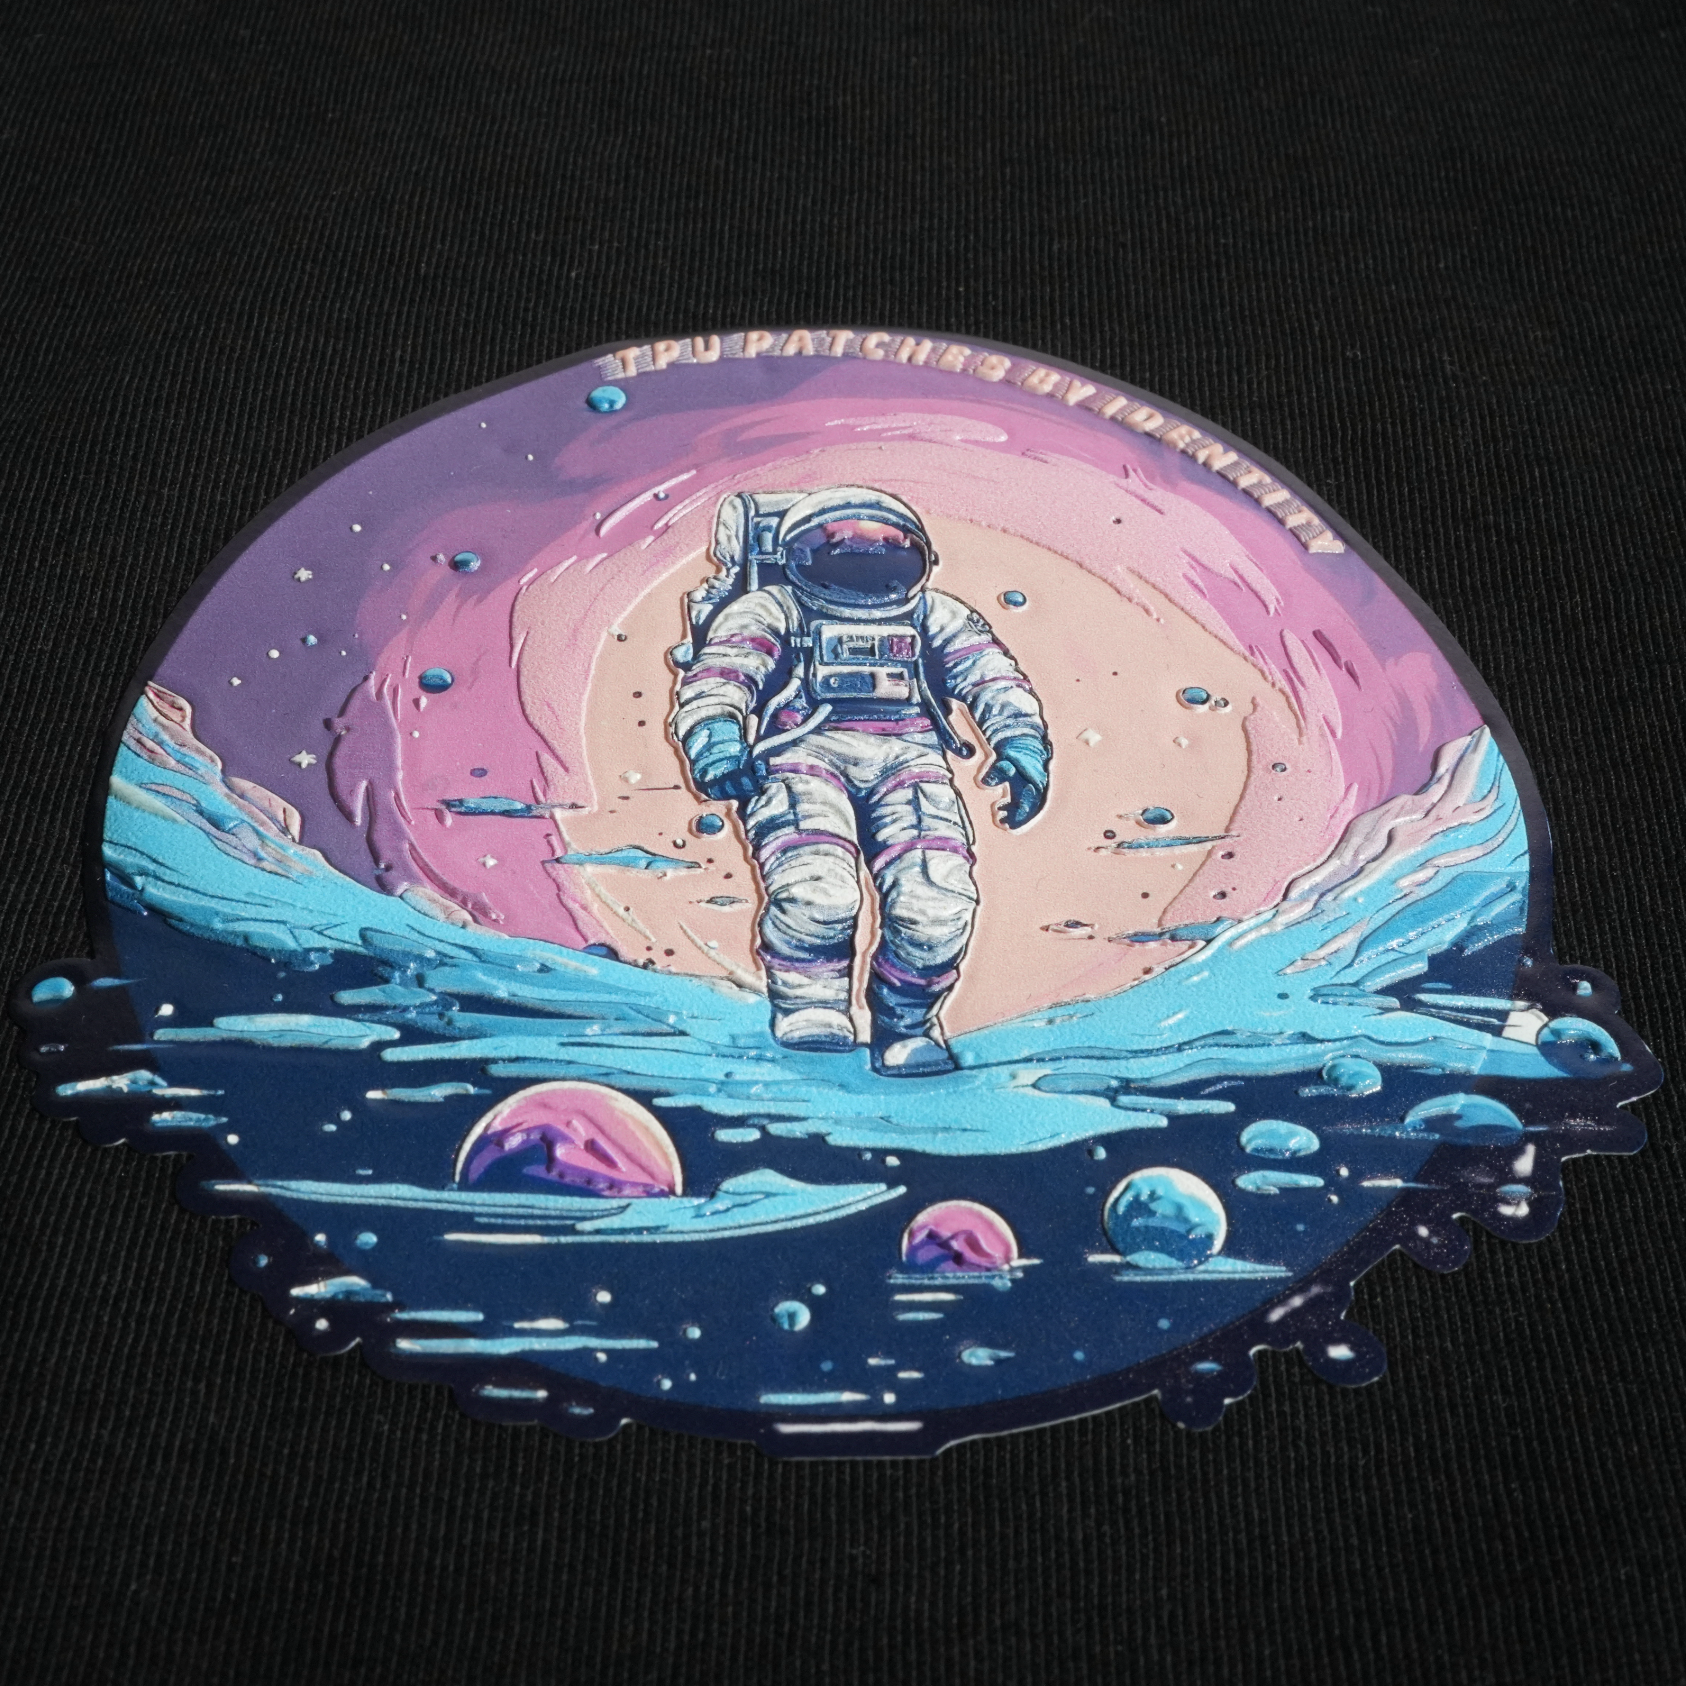
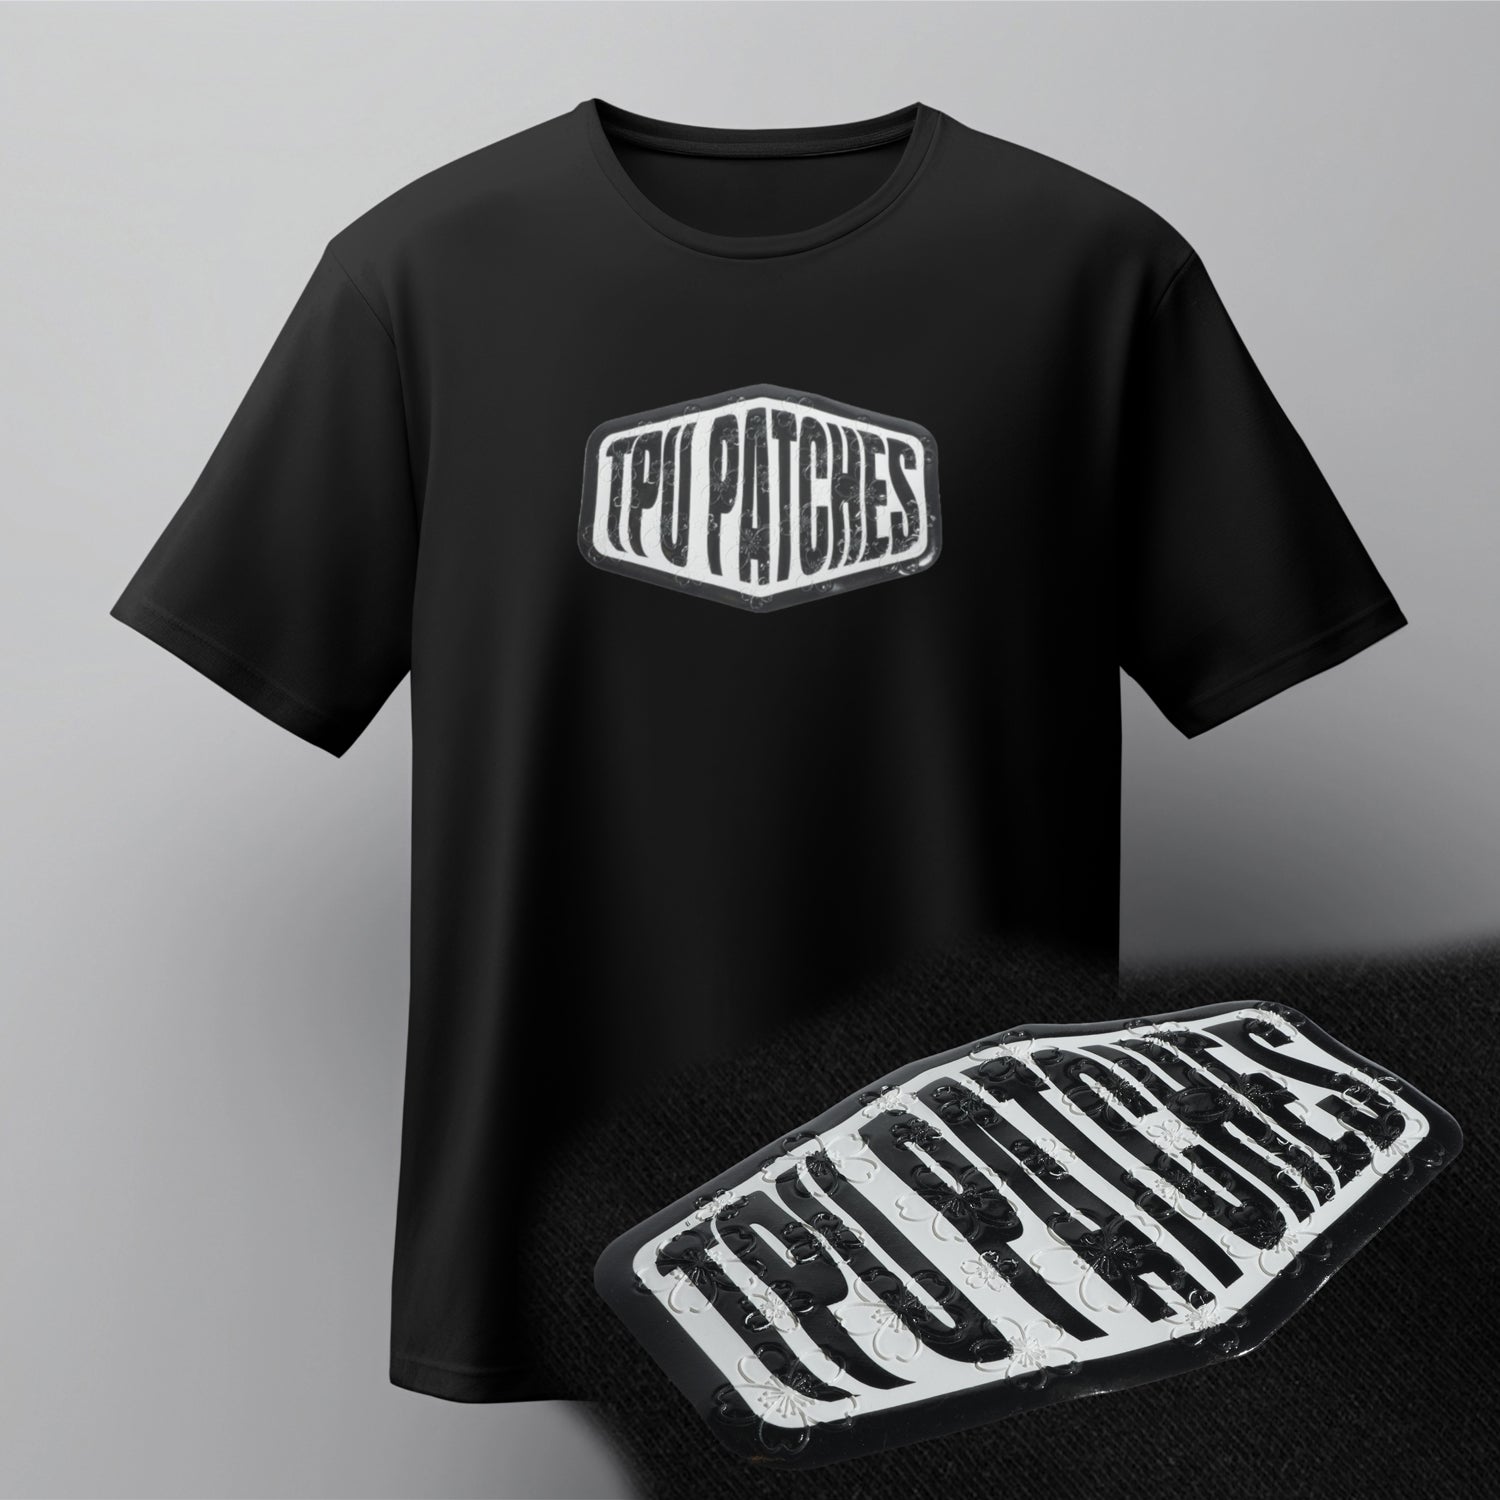
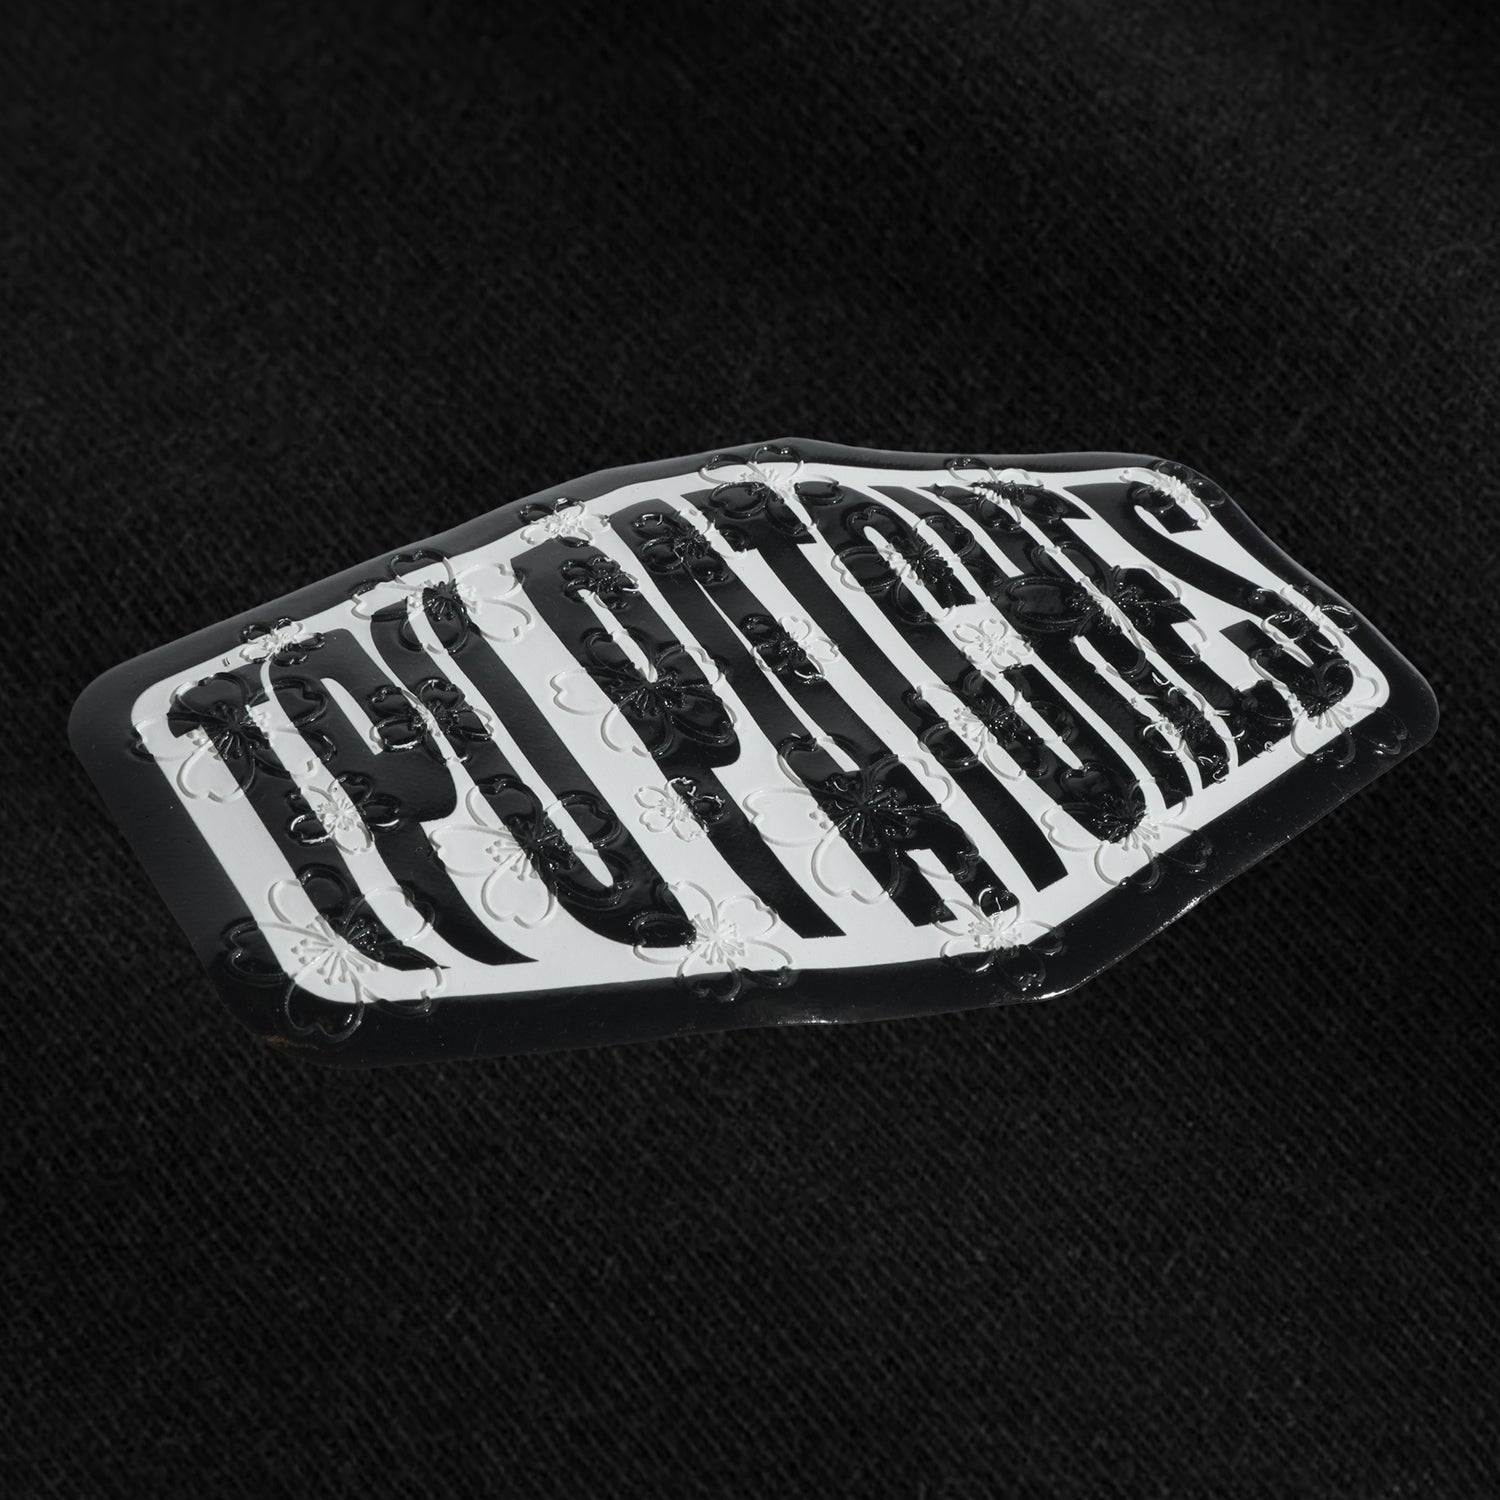
TPU 3D High Build transfers are raised, flexible heat transfers designed to give logos a premium patch-like finish. They add depth, texture and a rubberised feel while still applying with a heat press.
Choose The Section:
DTF vs TPU Patches
Flat print or raised finish?
Standard DTF transfers are perfect for full-colour prints, detailed artwork and everyday garment decoration. TPU patches are different, they create a raised, rubberised patch-style finish that adds depth, texture and a more premium feel to your logo.
Compare
Standard DTF vs TPU 3D High Build
Not sure which finish is right for your design? Compare standard DTF transfers with TPU 3D High Build and see the difference in texture, depth and final appearance.
Flat printed finish
Raised 3D rubberised finish
Smooth and lightweight
Textured with visible depth
Full colour artwork, logos and everyday prints
Premium logos, patches, badges and statement details
Soft, flexible print feel
Flexible raised TPU feel
Clean, flat graphic print
Premium patch-style effect
Heat press application
Heat press application
T-shirts, hoodies, workwear and general garments
Streetwear, caps, bags, uniforms and premium branding
DTF vs TPU 3D
See The Difference In The Finish
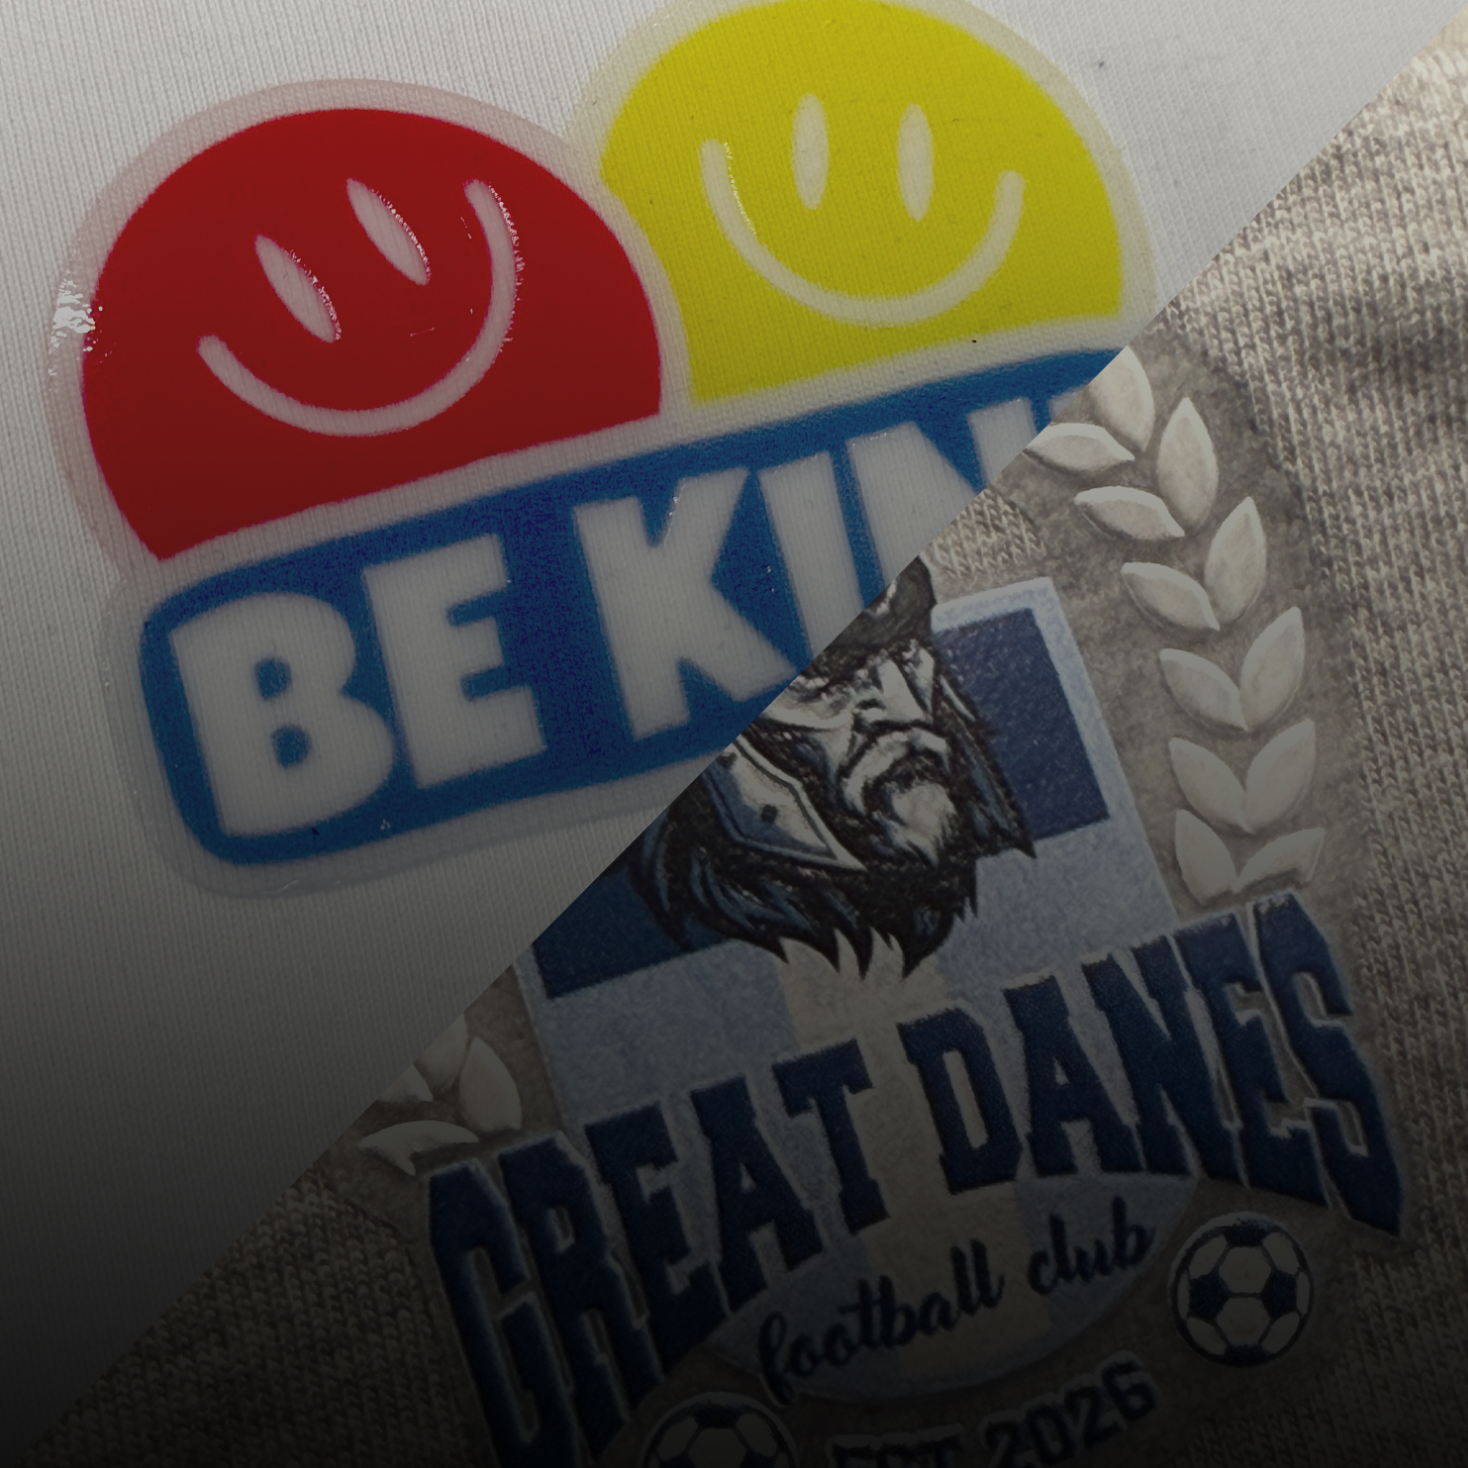
Compare a standard flat DTF transfer with our TPU 3D High Build version. Same artwork, completely different result. Raised texture, premium detail and a rubberised patch-style finish.
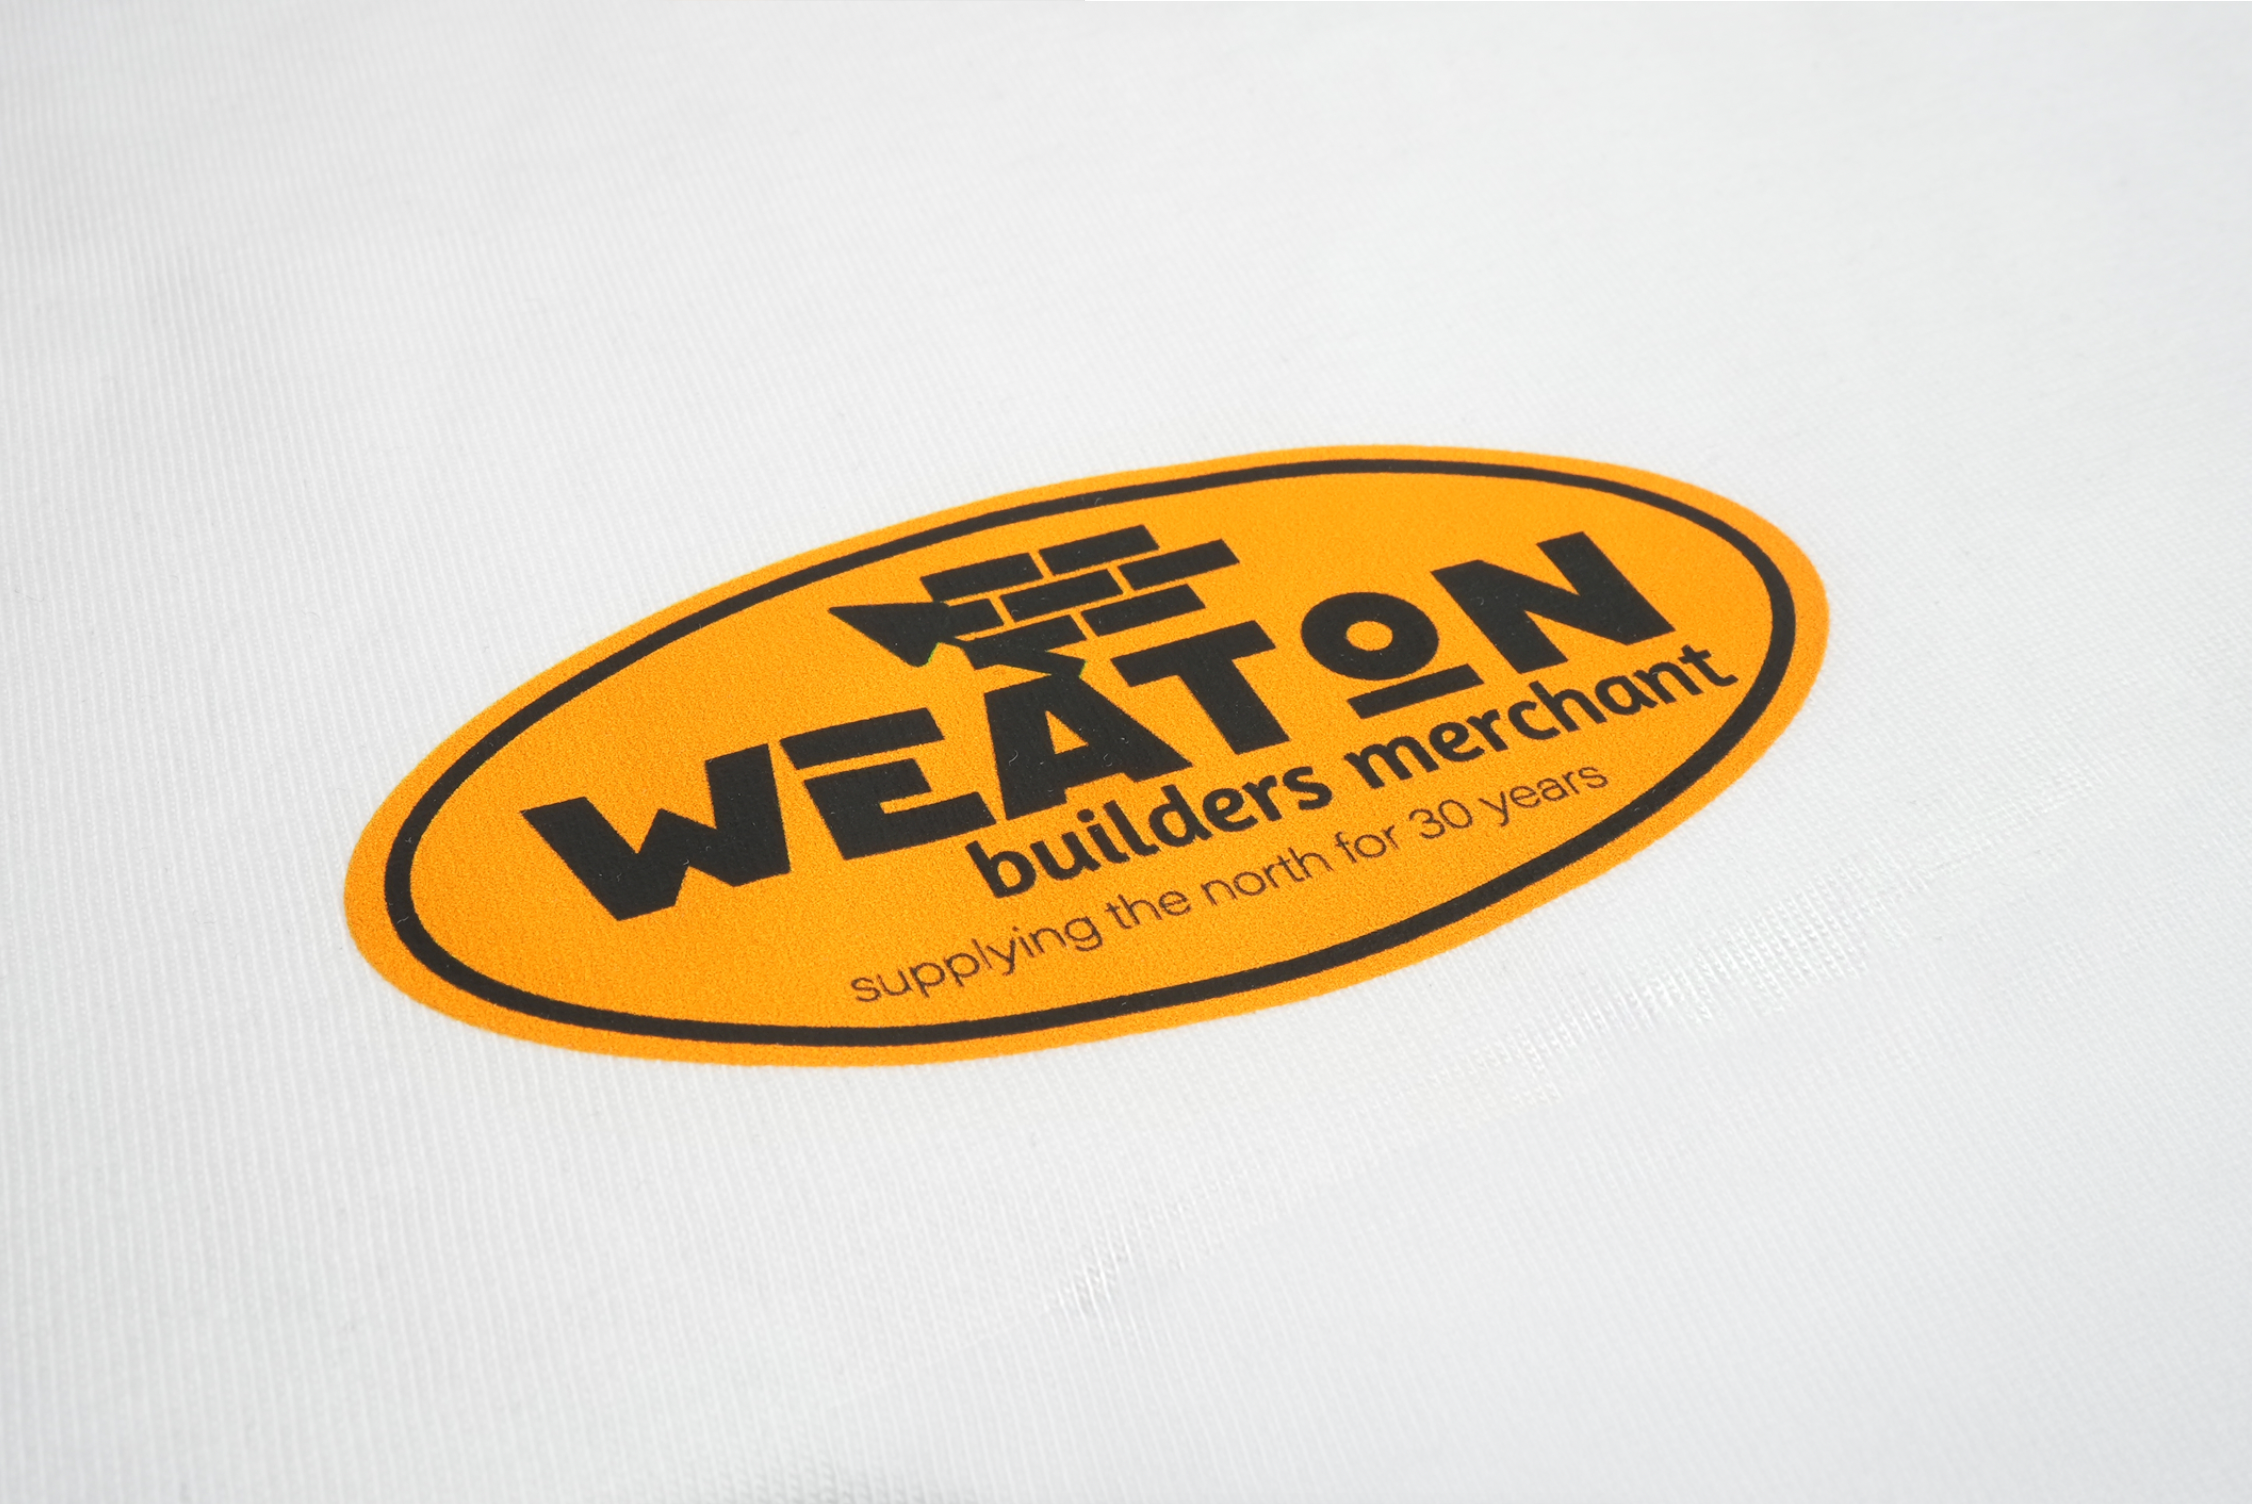
Standard DTF
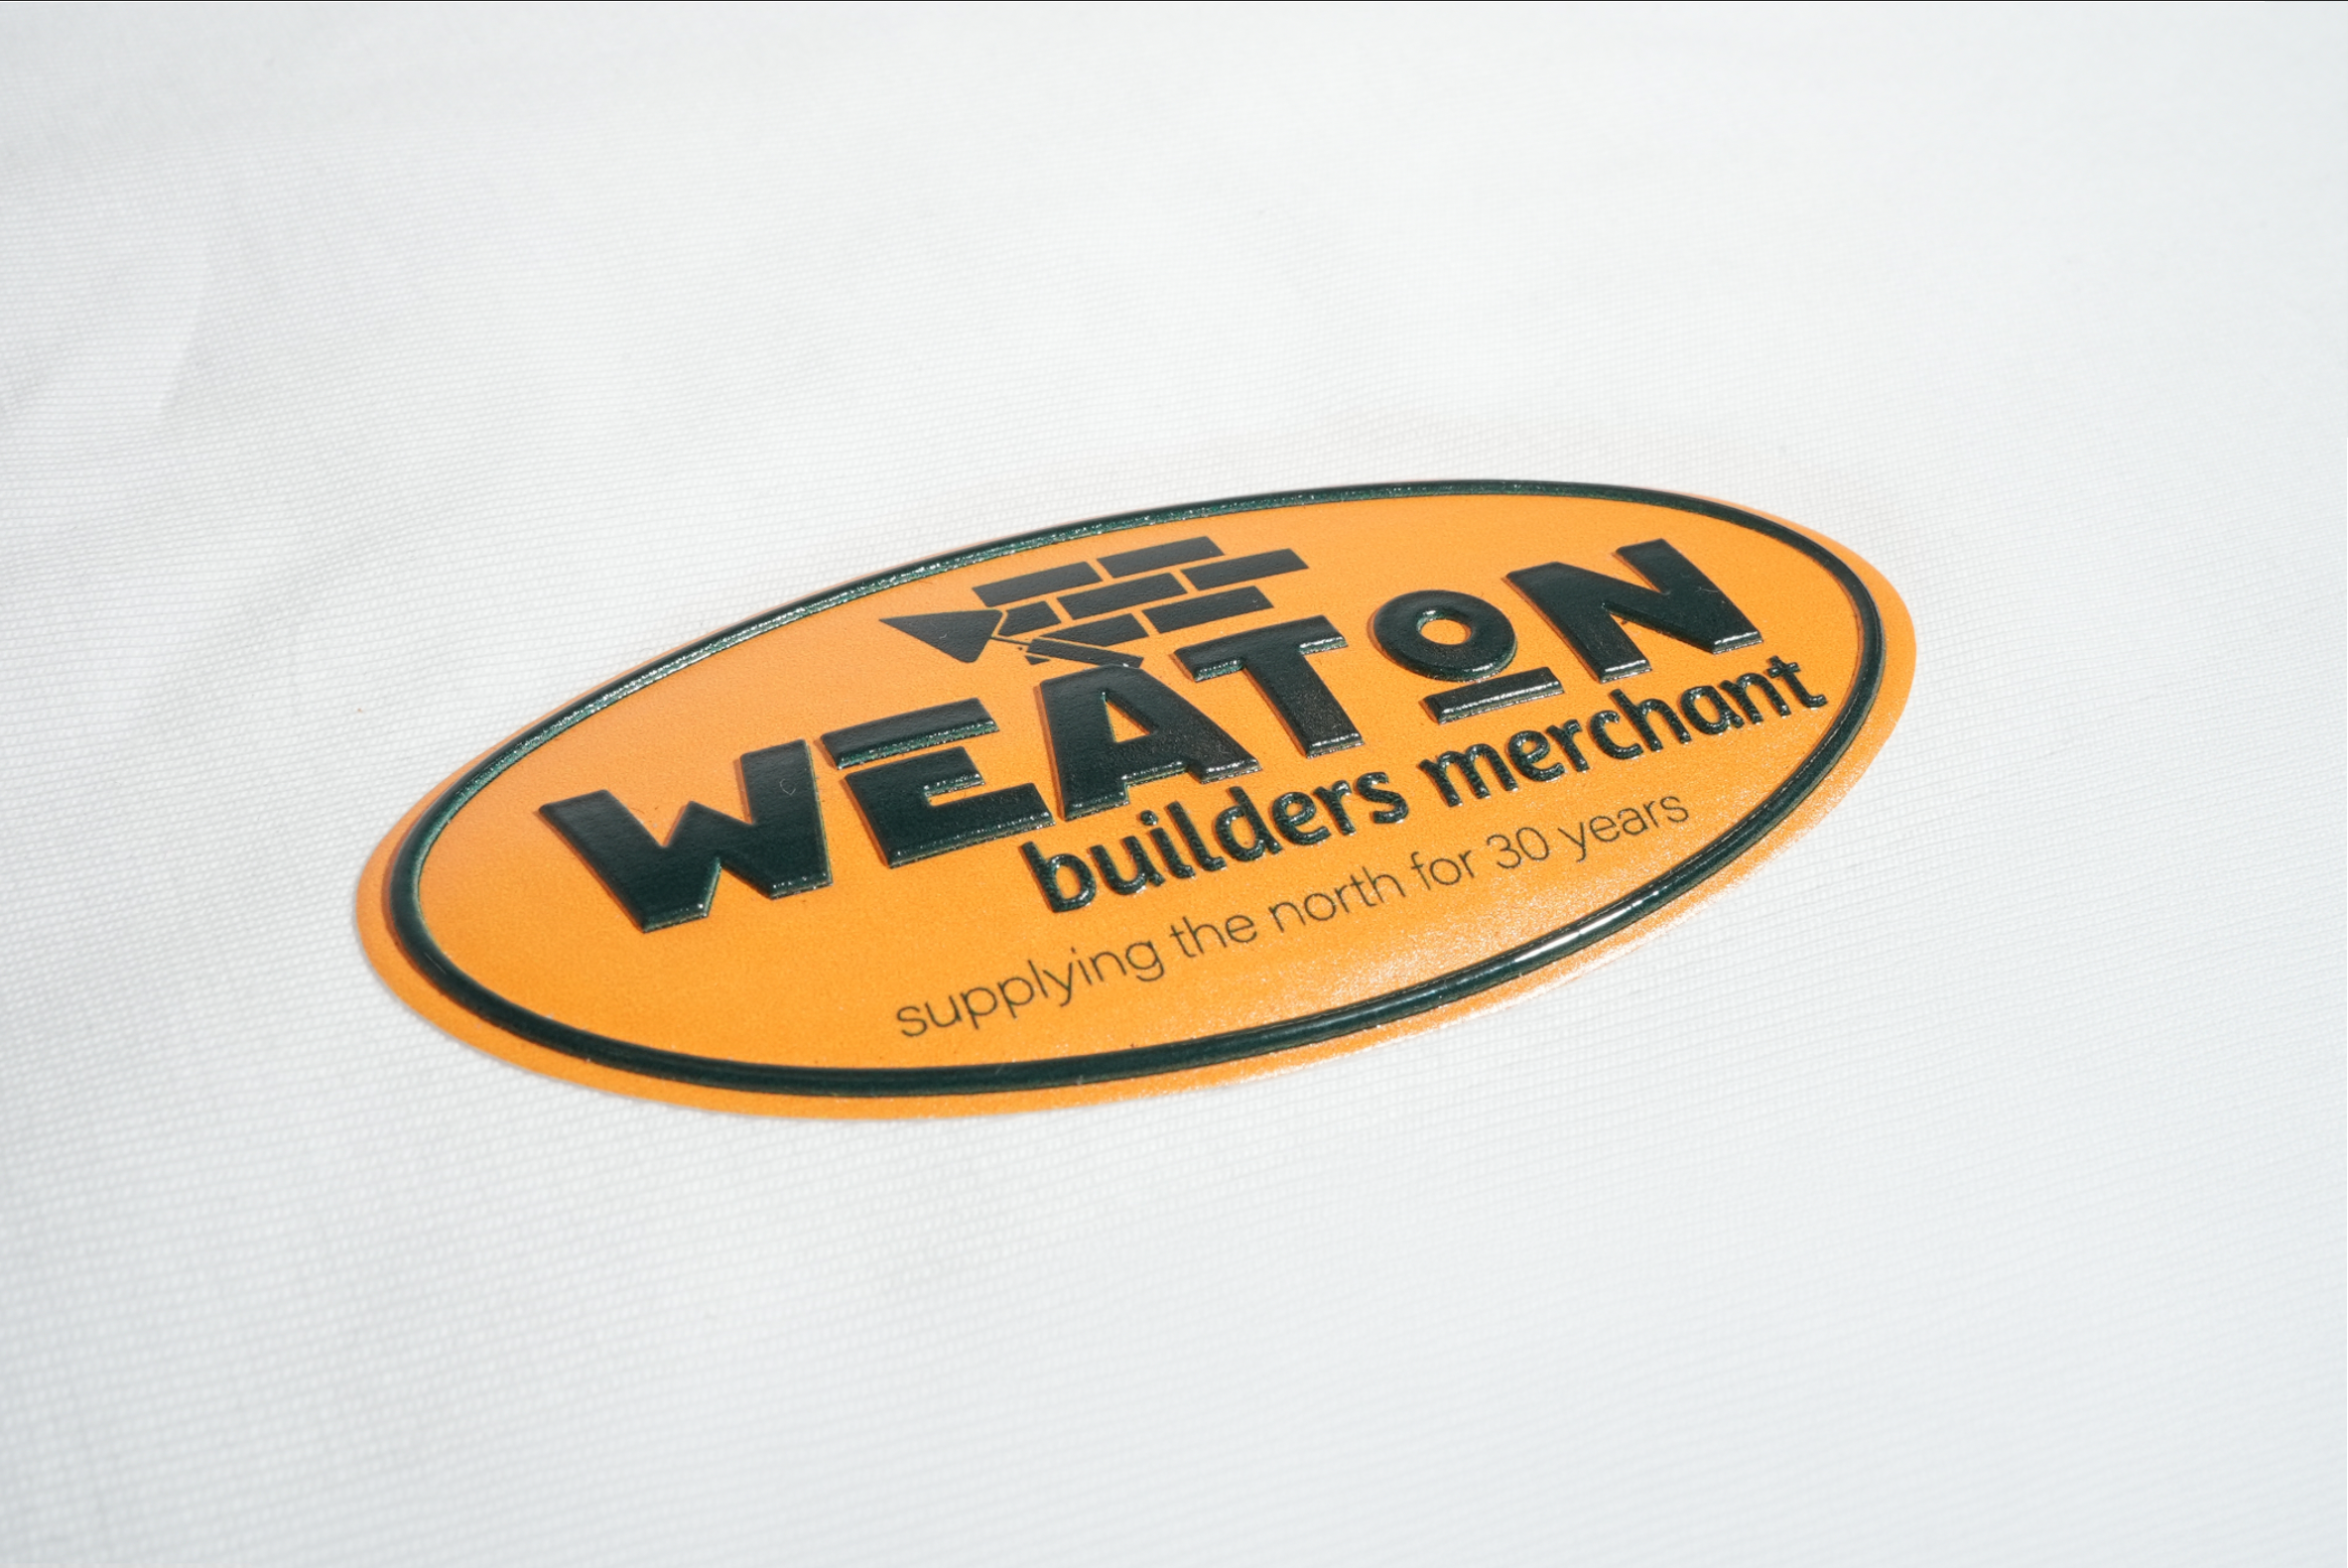
TPU 3D High Build
The Application
How To Apply TPU Patches
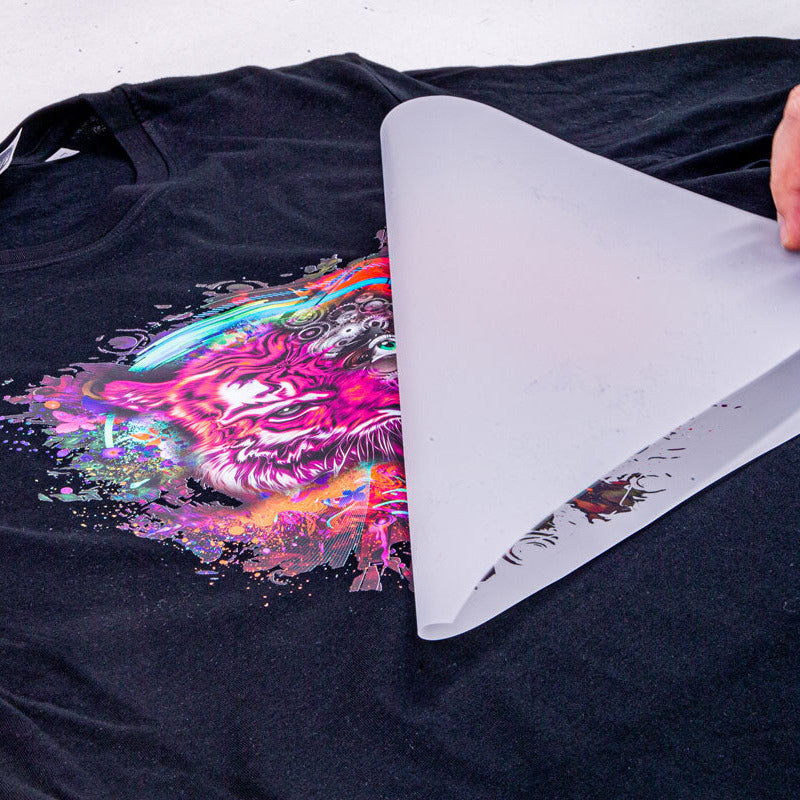
TPU patches are supplied ready to apply with a heat press. Peel the transfer from the backing, position it onto your garment, cover with silicone paper and press at the recommended settings. Once pressed, gently rub and pat the transfer through the silicone paper for a clean raised finish.
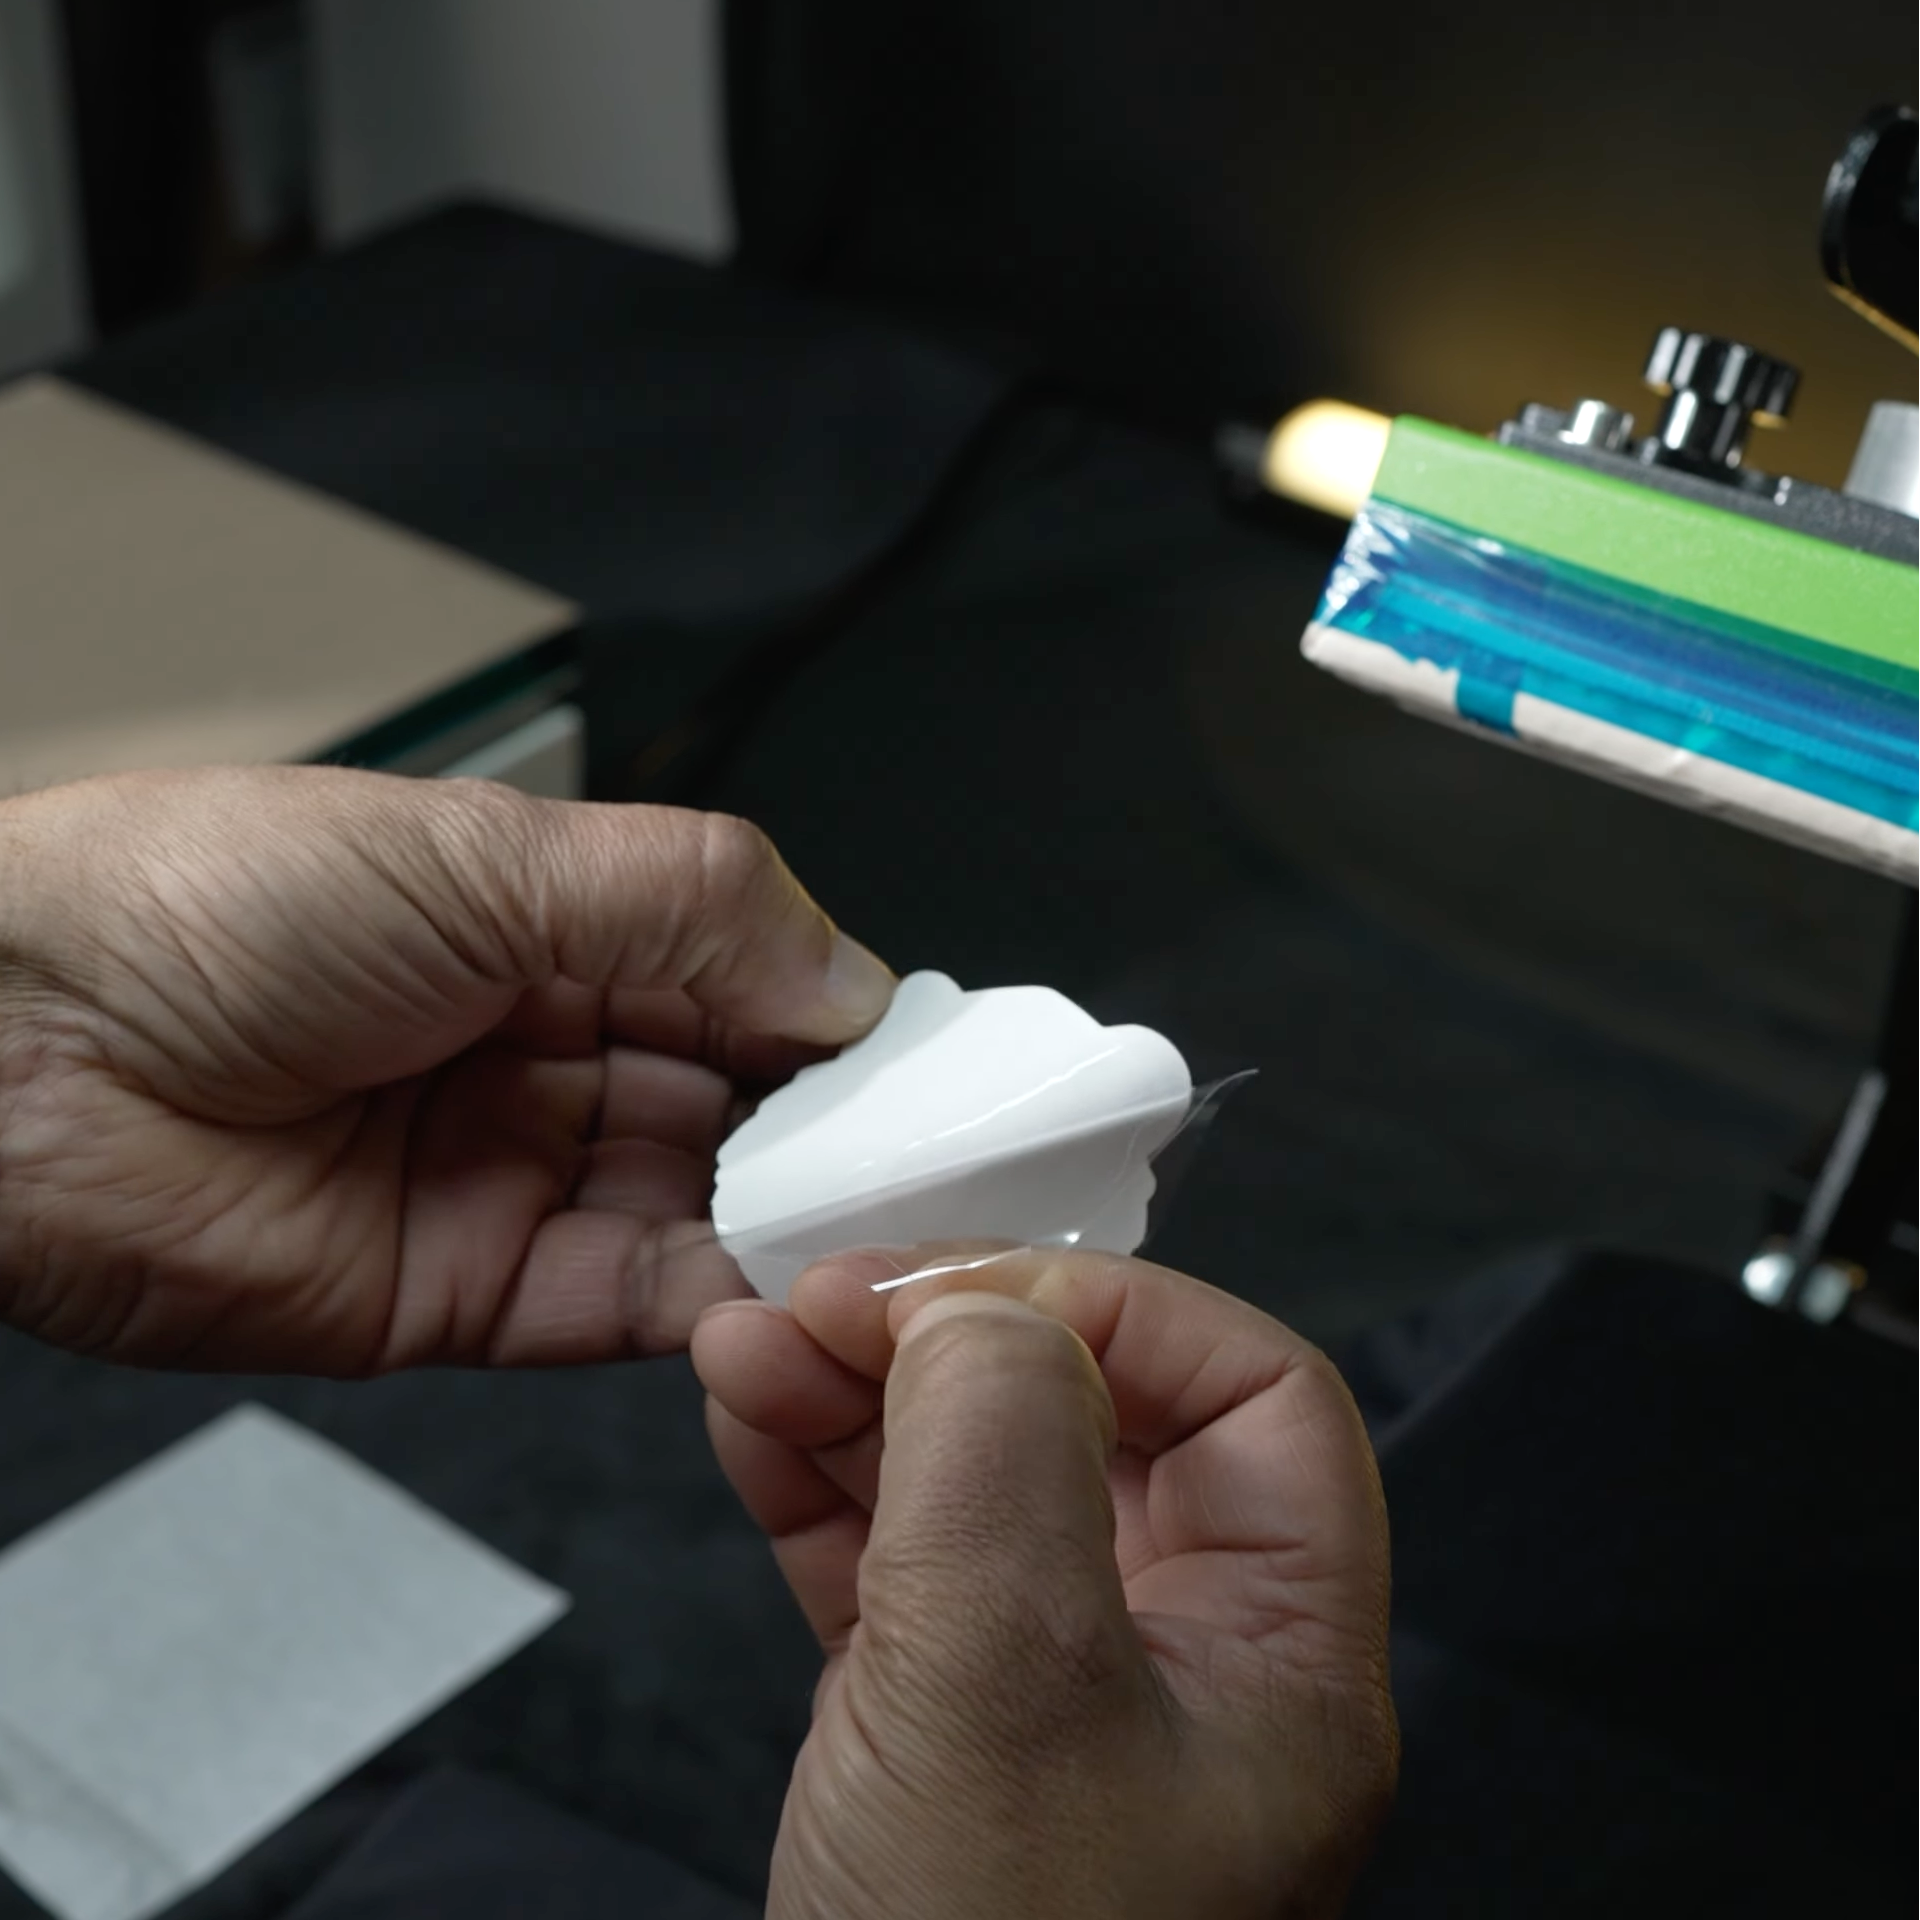
Pre-press the garment for a few seconds to remove moisture and creases. Carefully peel the TPU transfer from the backing, then position it onto your garment.
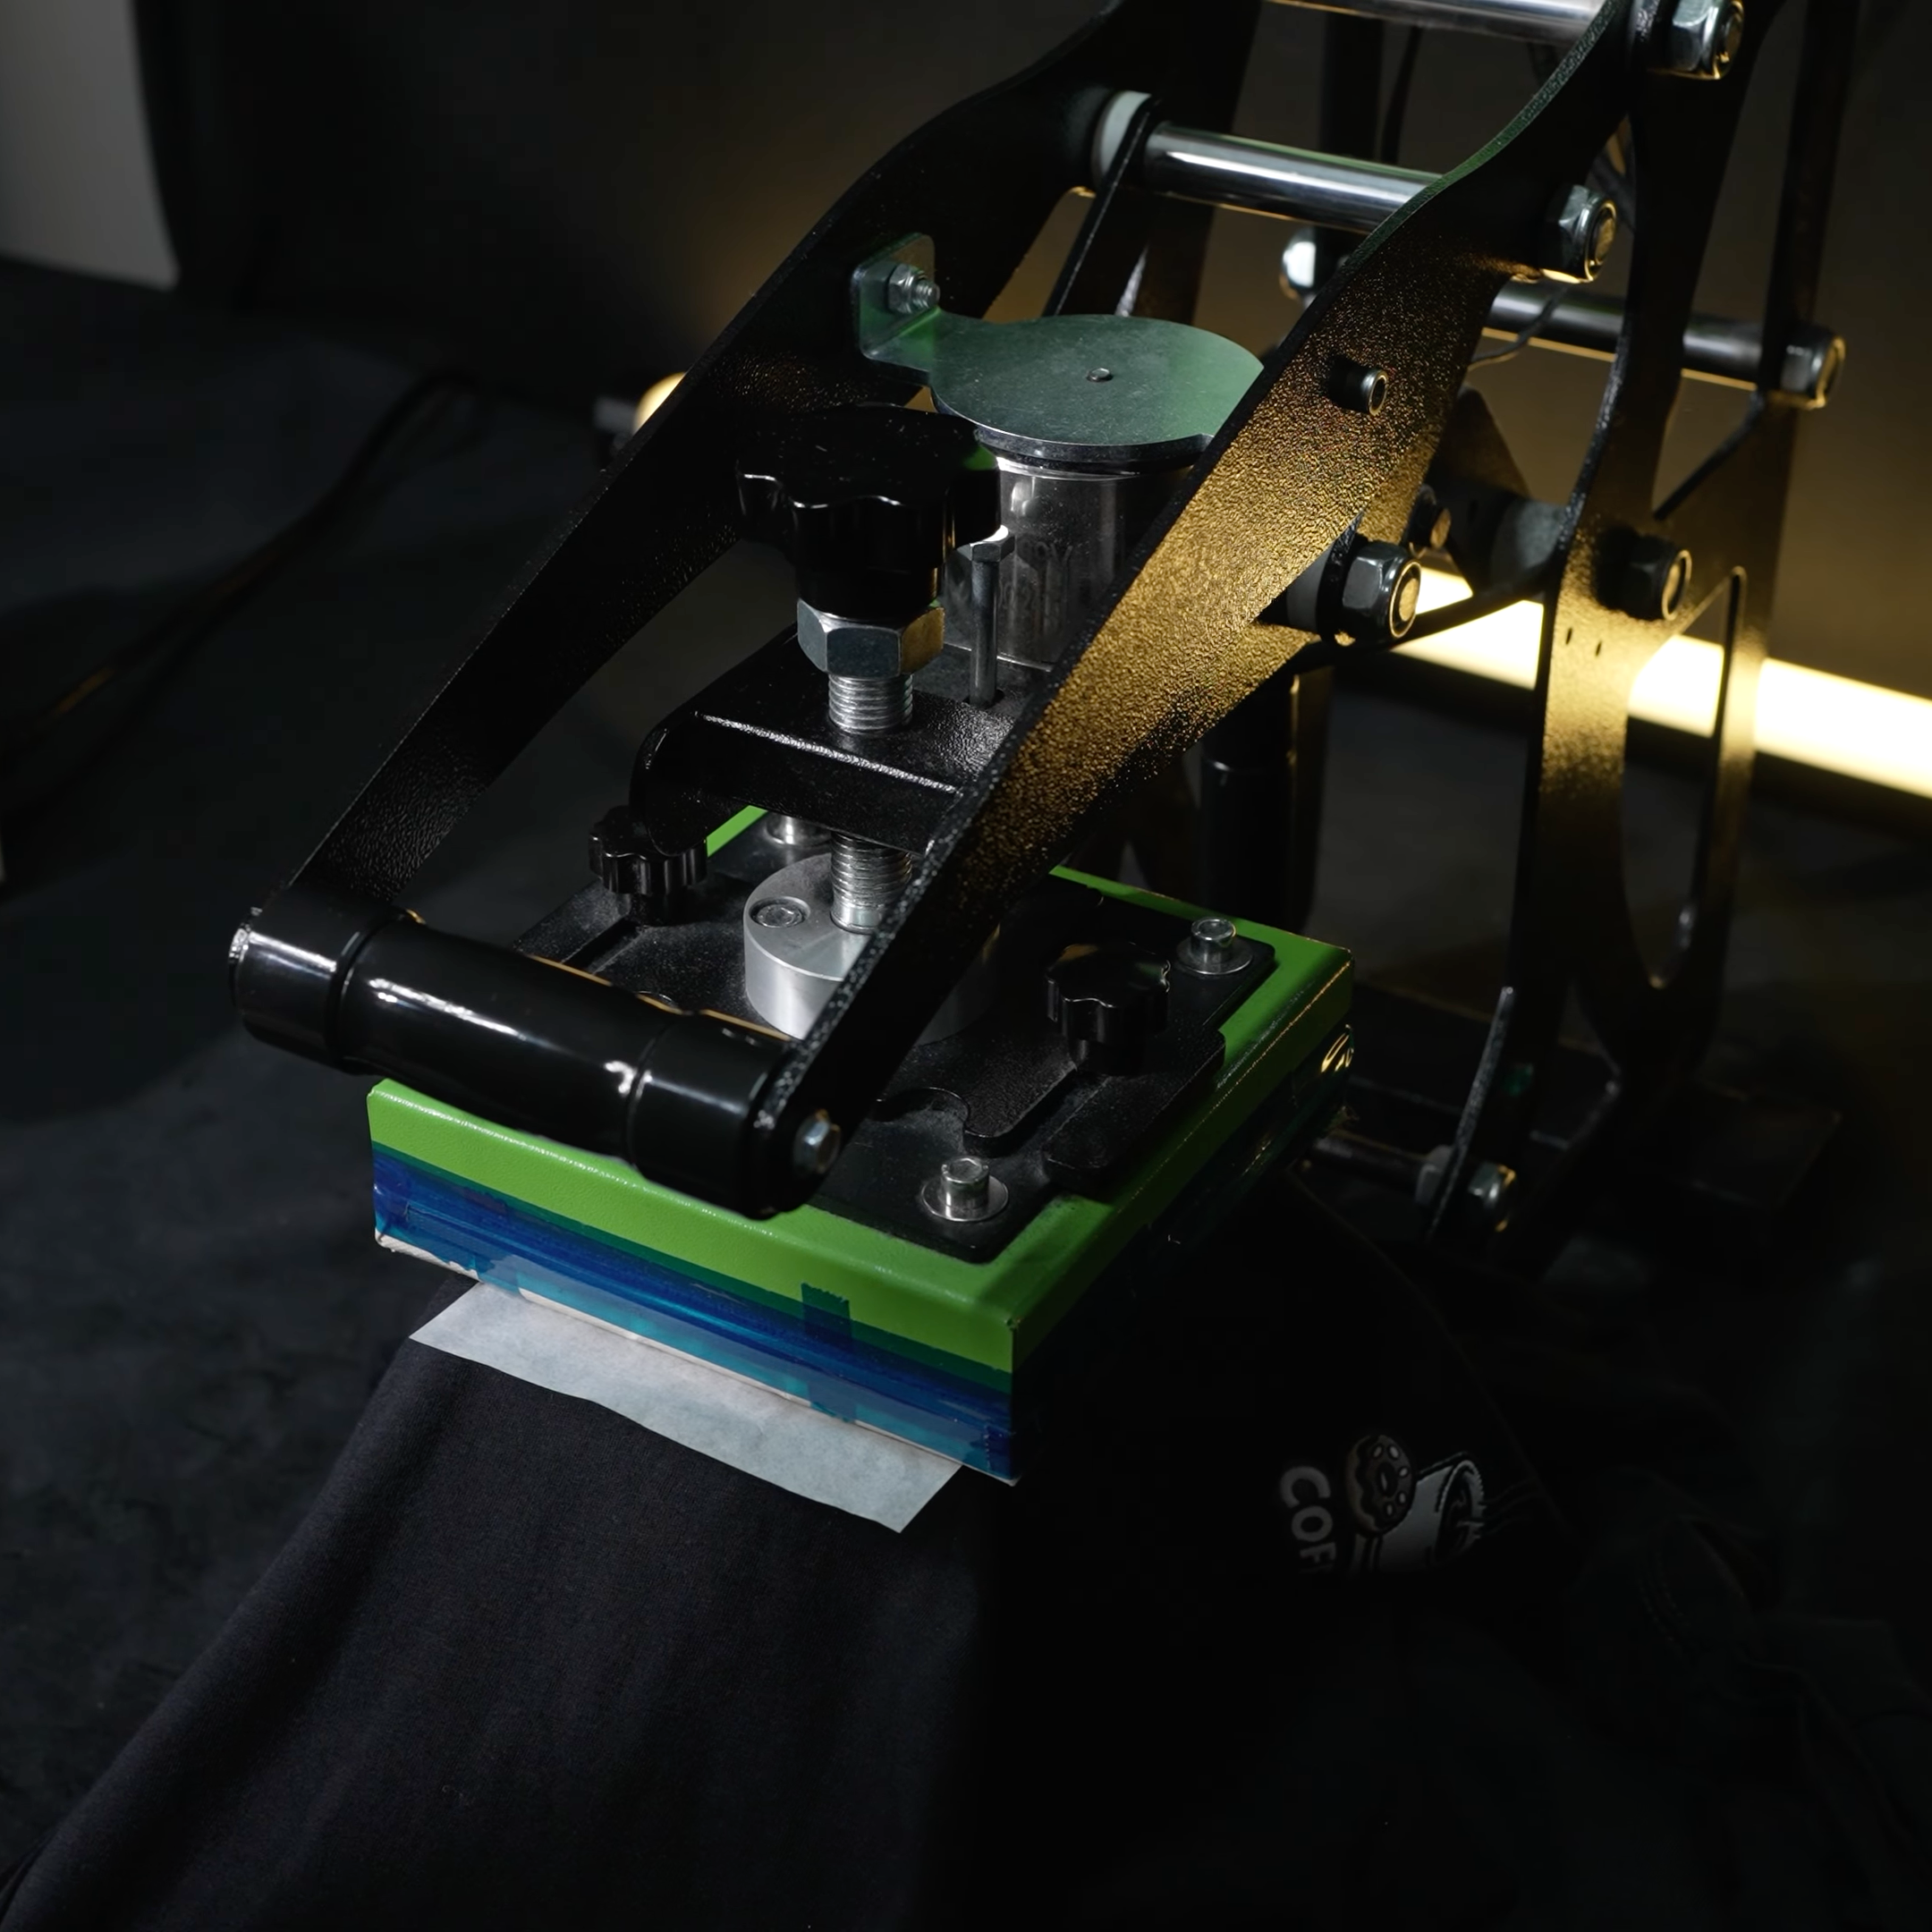
Cover the transfer with silicone paper and press at 150°C for 15 seconds. For polyester, we recommend pressing at 140°C instead.
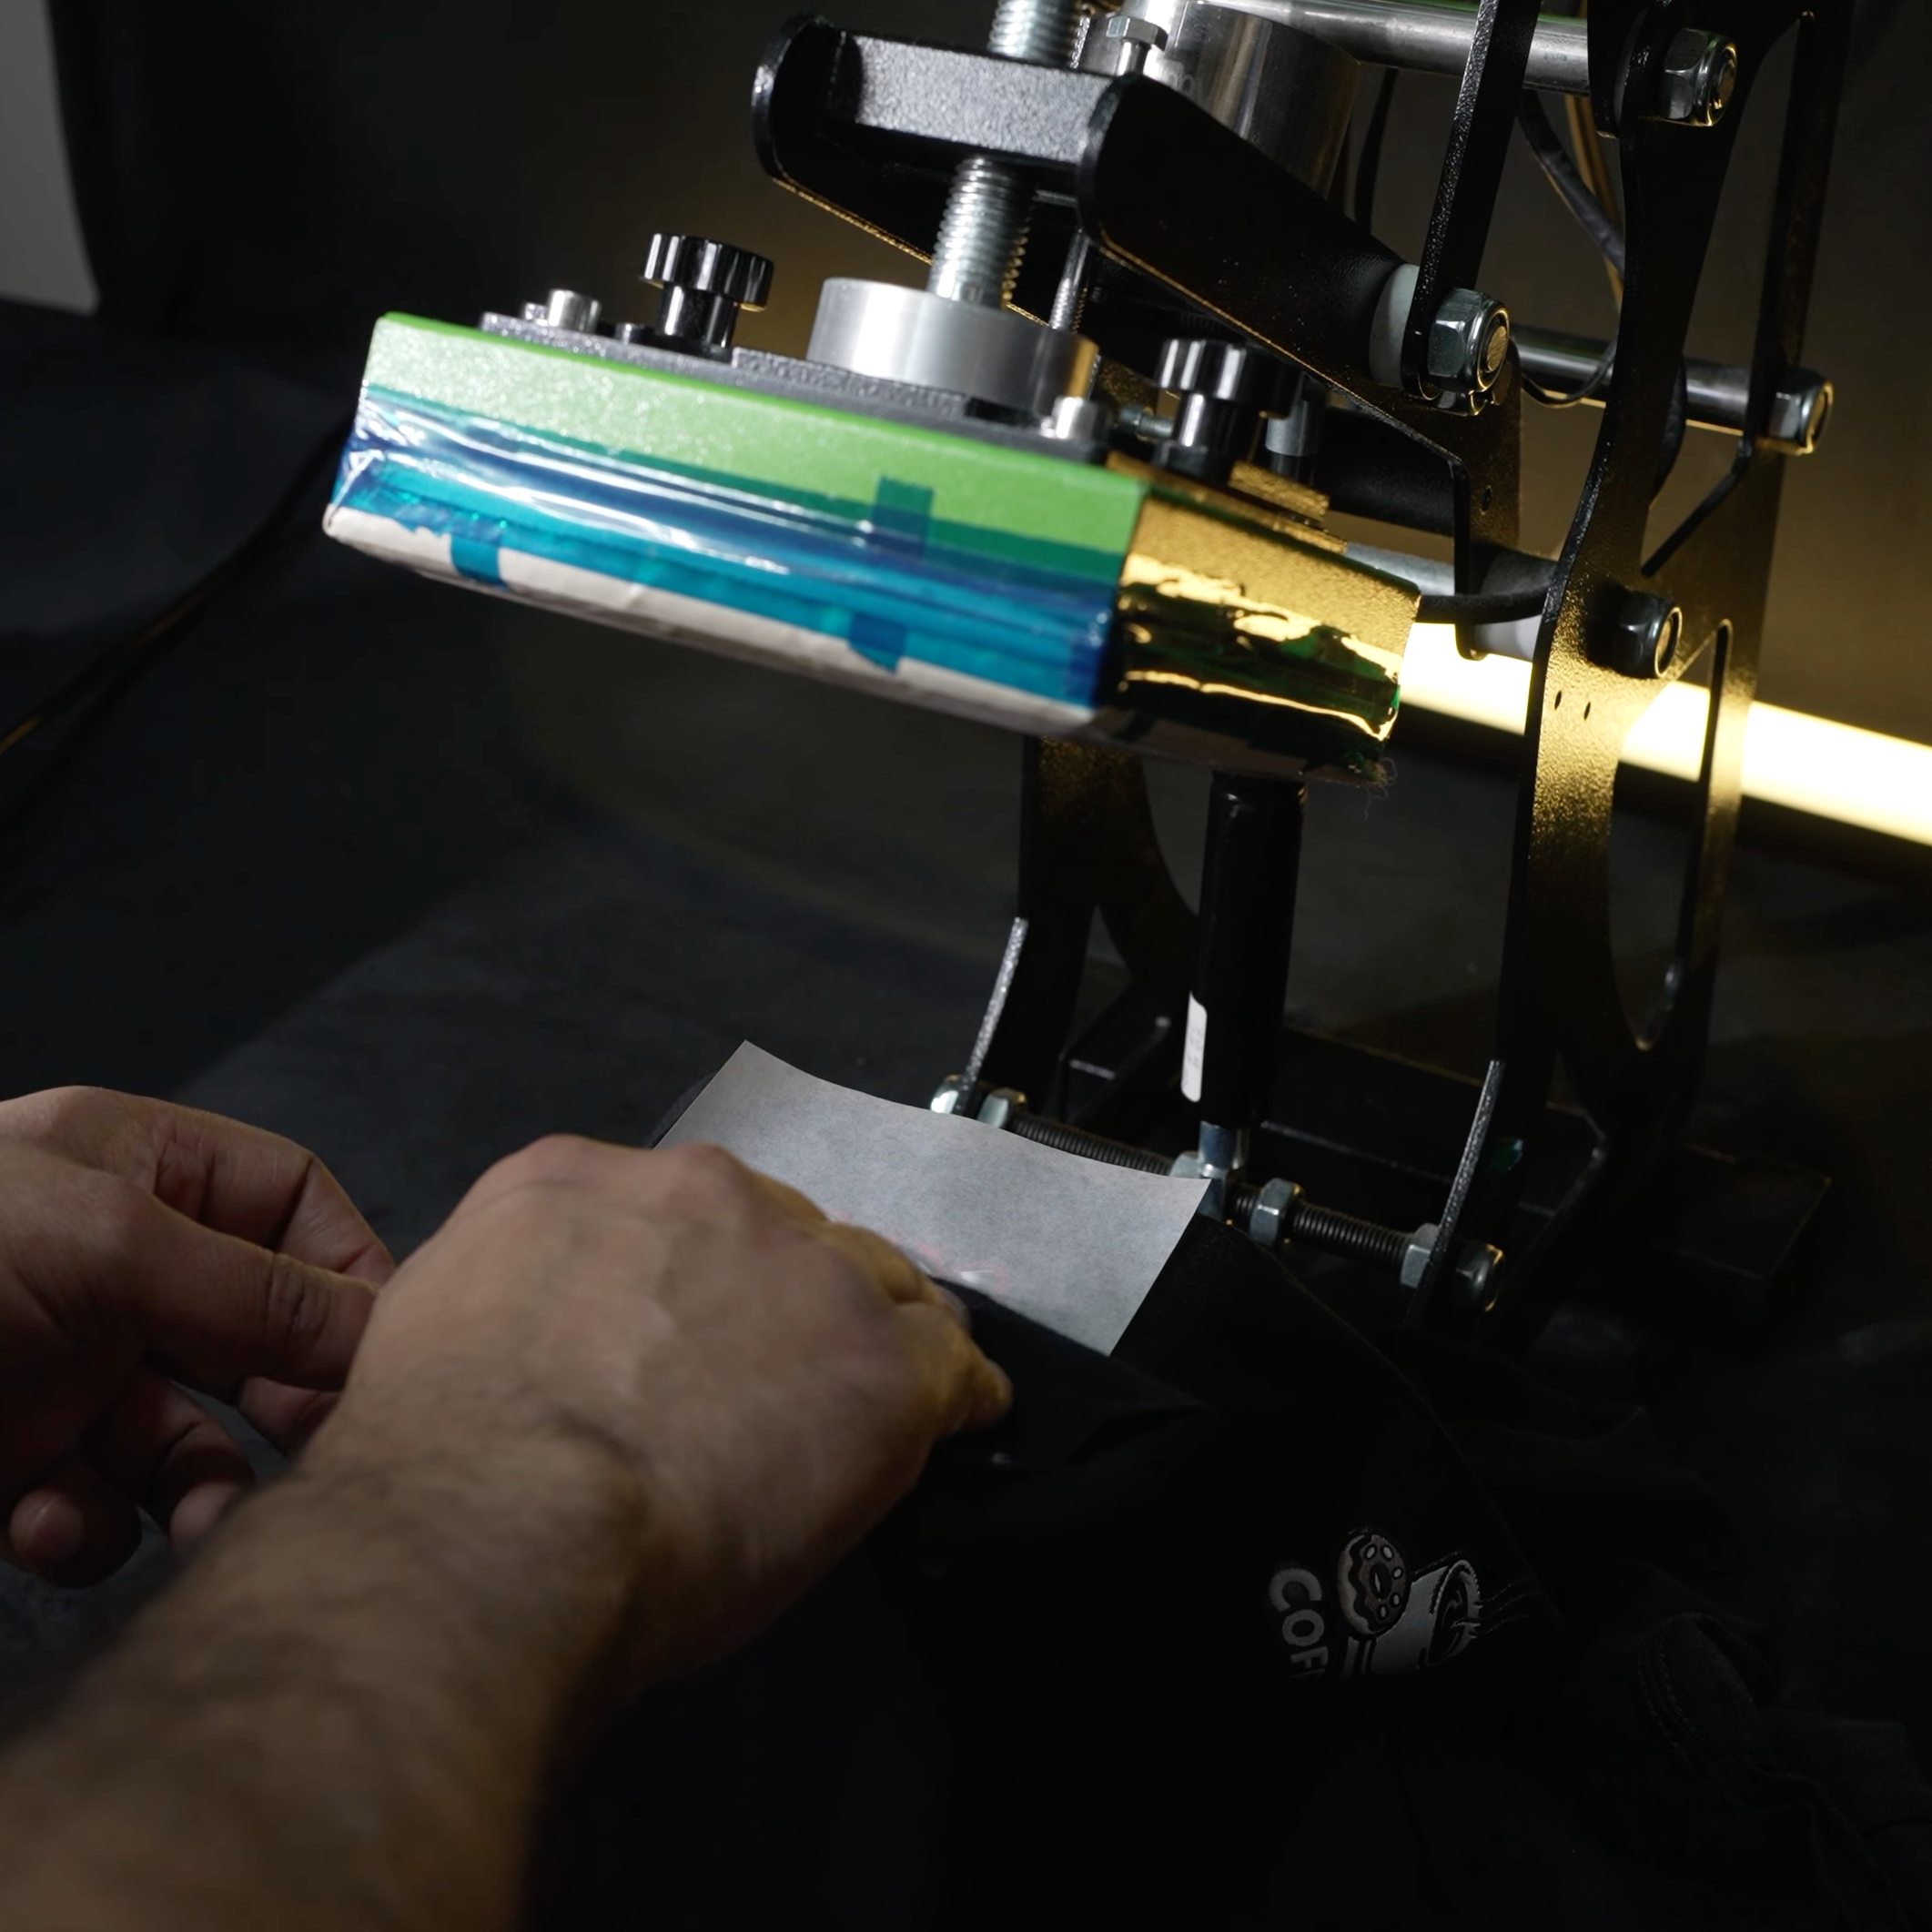
Once pressed, use the silicone paper to gently rub and pat down the transfer. This helps prevent curling and gives a clean, secure finish.
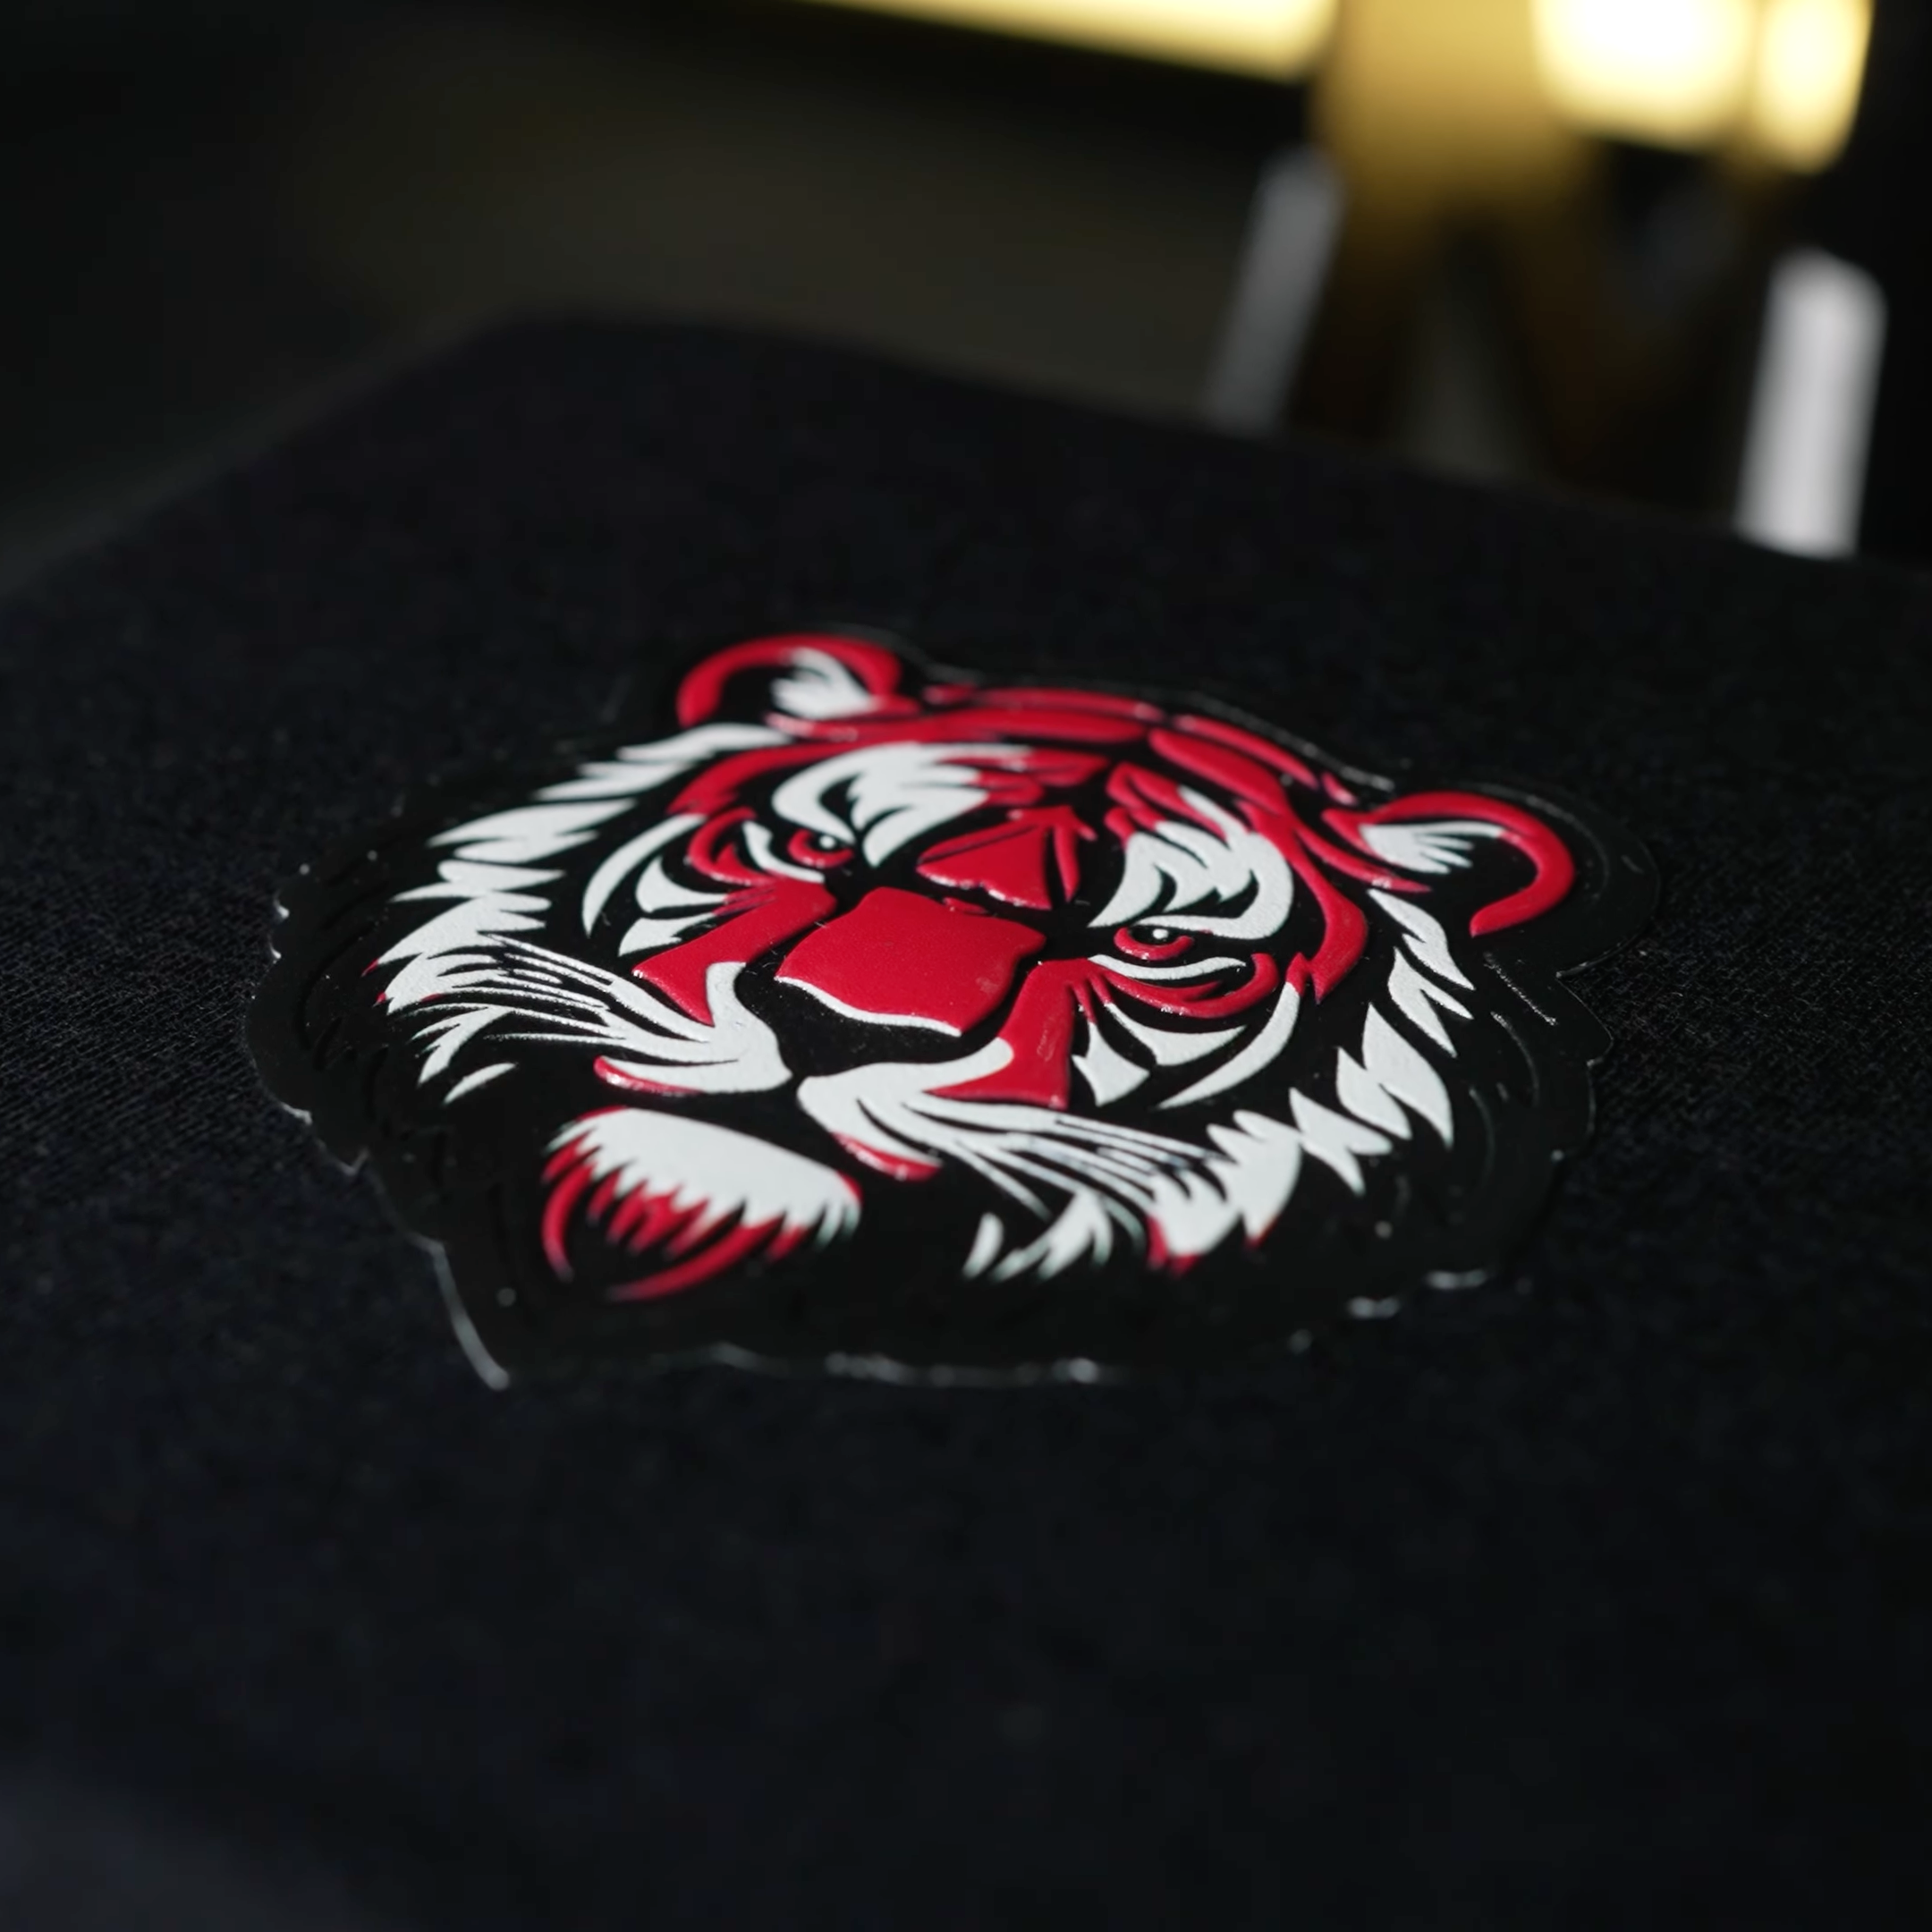
Your transfer is now applied with a premium raised, rubberised patch-style finish — all from one simple press.
Pre-press the garment for a few seconds to remove moisture and creases. Carefully peel the TPU transfer from the backing, then position it onto your garment.
Cover the transfer with silicone paper and press at 150°C for 15 seconds. For polyester, we recommend pressing at 140°C instead.
Once pressed, use the silicone paper to gently rub and pat down the transfer. This helps prevent curling and gives a clean, secure finish.
Your transfer is now applied with a premium raised, rubberised patch-style finish — all from one simple press.
Best Uses
Where TPU transfers work best
TPU transfers are ideal when you want a logo or badge to feel more premium than a standard print.

Premium chest logos, sleeve badges, neck labels and statement branding.

Durable-looking raised logos for teams, trades and company clothing.
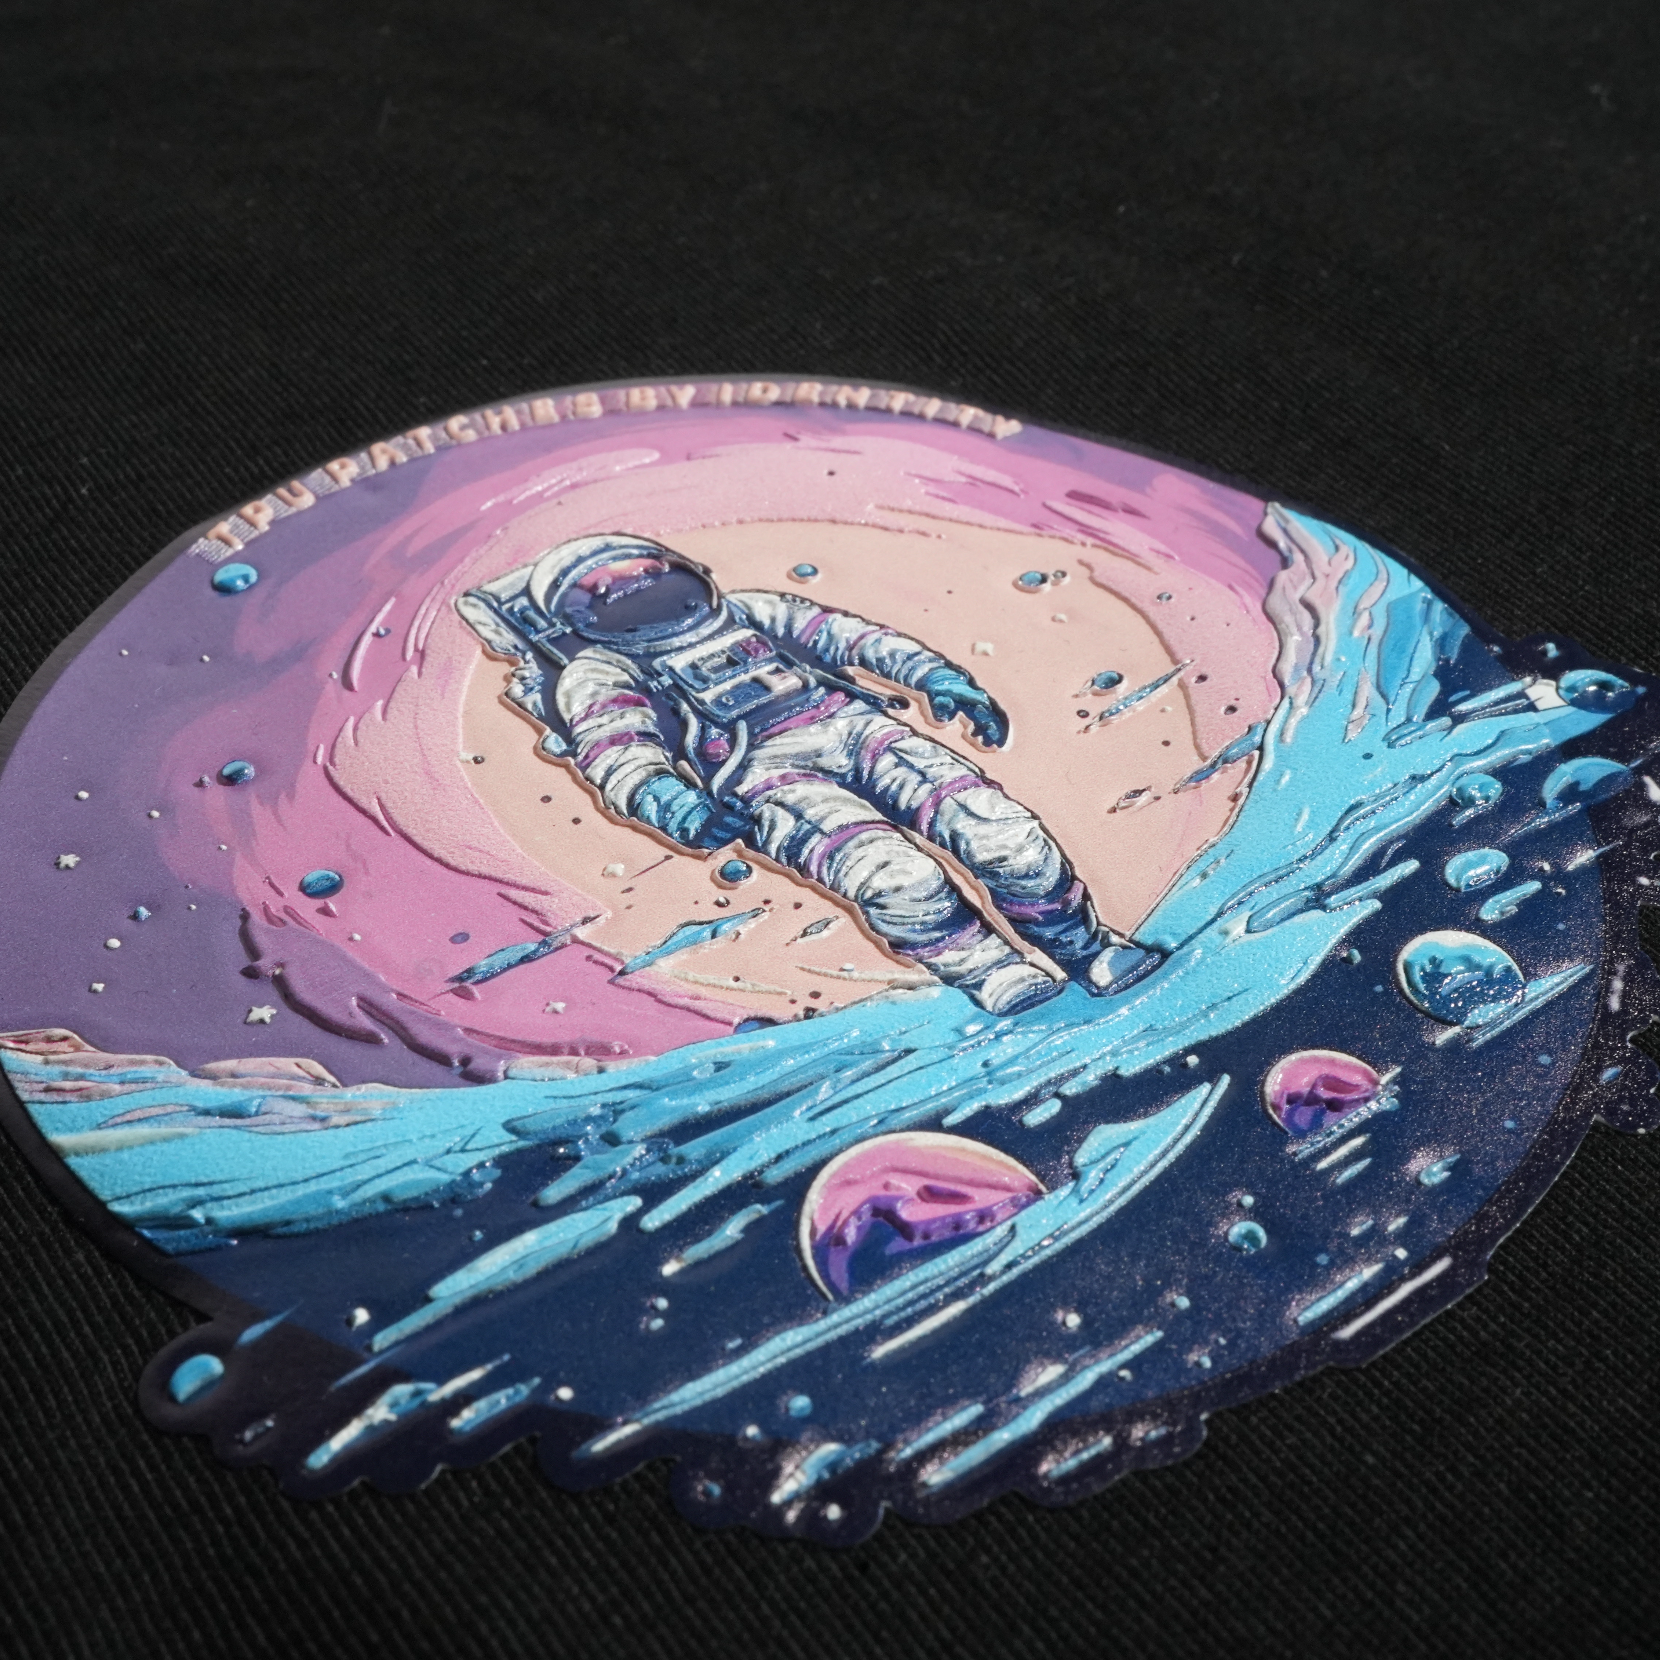
Patch-style branding for suitable bags, caps and accessories.
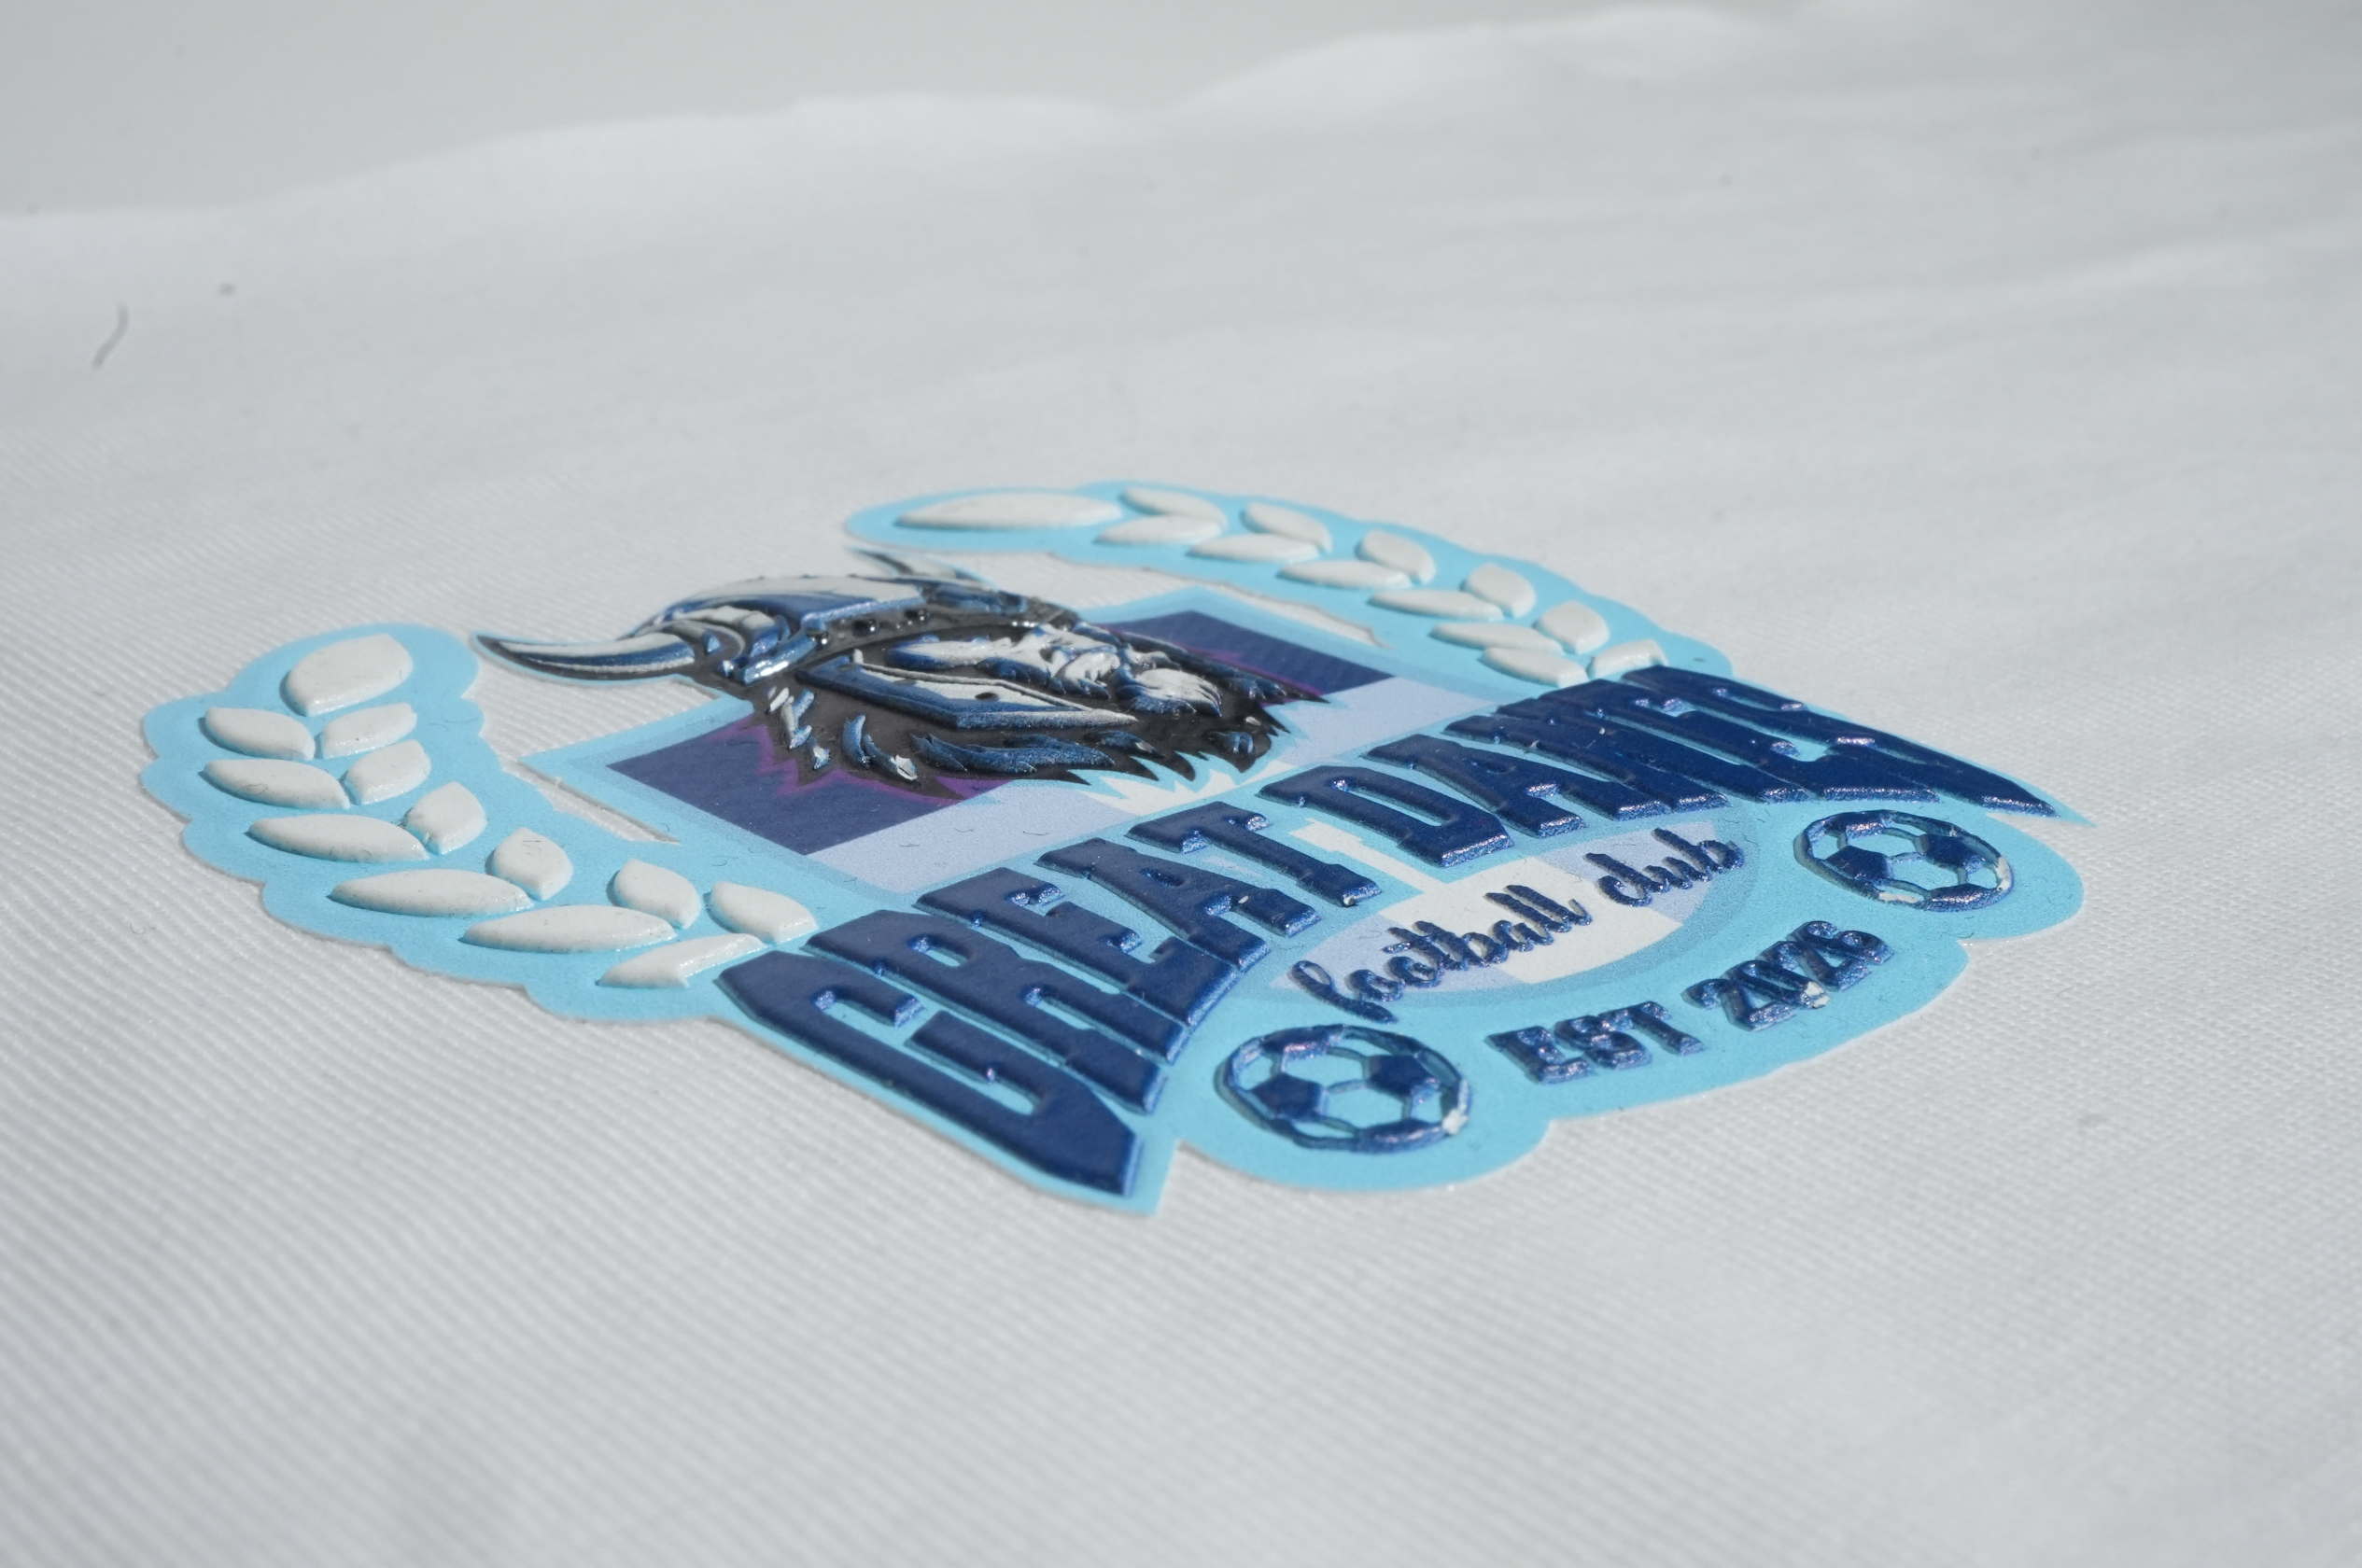
Bold raised logos, club badges and limited-edition designs.
Artwork Guidance
What artwork works best?
TPU works best with bold, clean artwork. Simple logos, strong outlines, clear text and badge-style designs usually give the best result.

Works well:
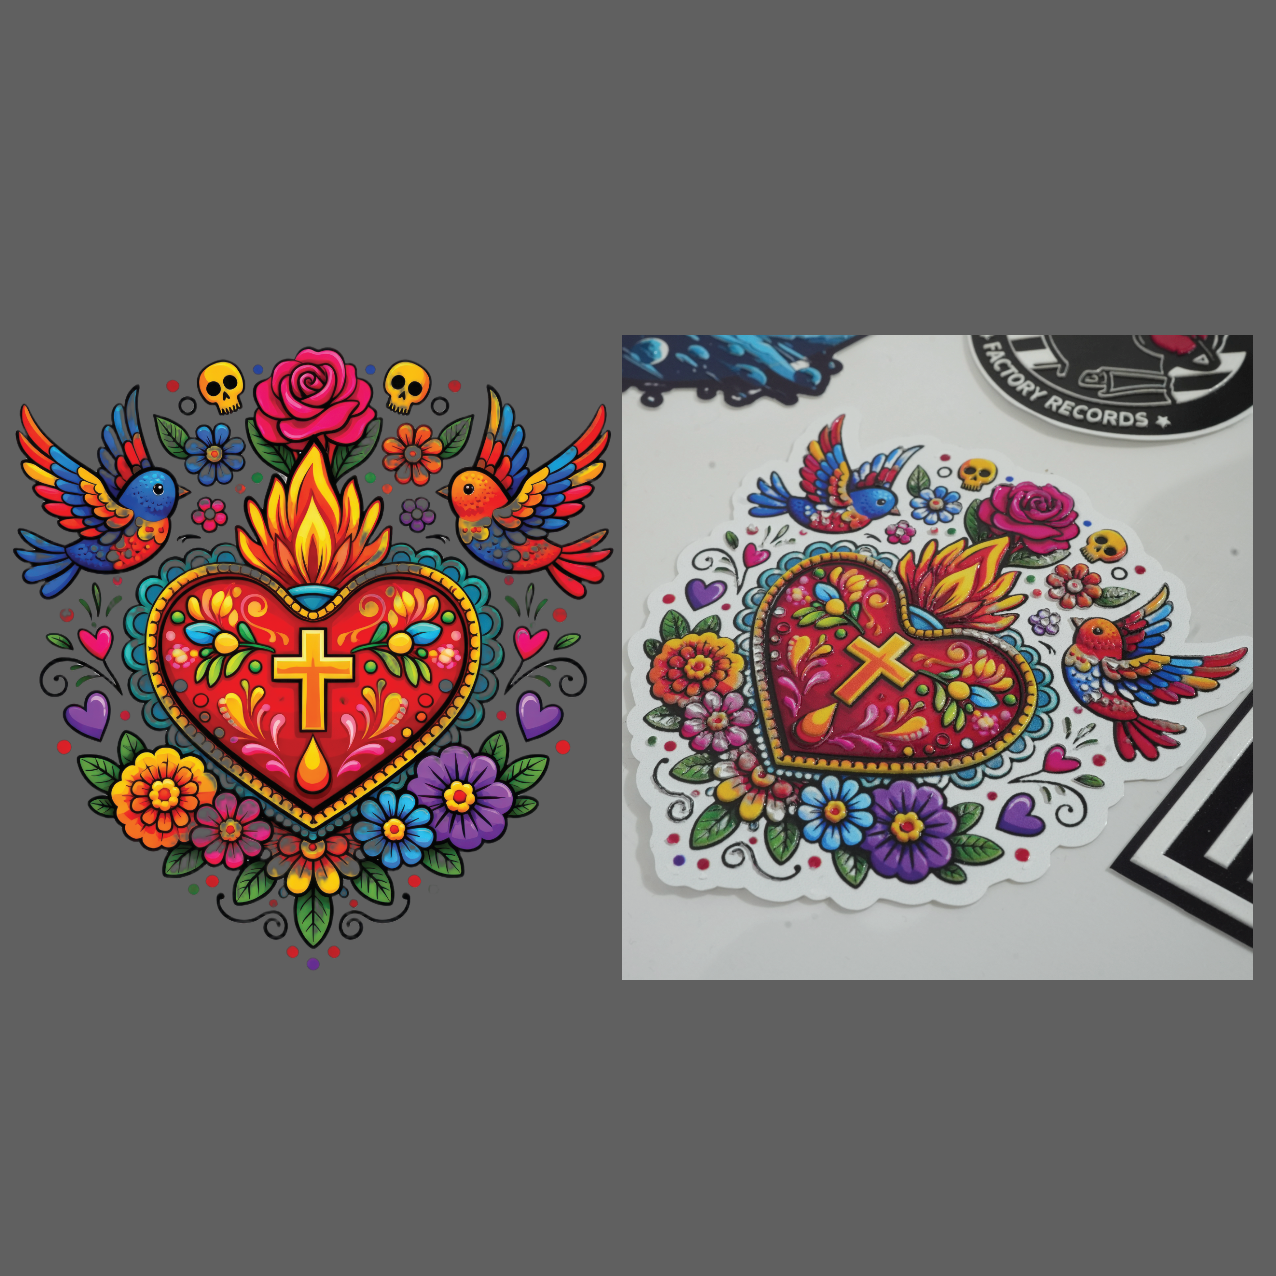
Bold logos, solid shapes, thick outlines, clear text, badge designs, simple icons.
May not work well:
Tiny text, very thin lines, soft fades, photographic images, semi-transparent artwork, overly detailed designs.
Important note:
TPU patches usually need a die-cut background or outline. You can choose the background or outline colour, or leave it for our designer to decide.
Custom Finish Options
Choose the raised details that make your patch stand out.
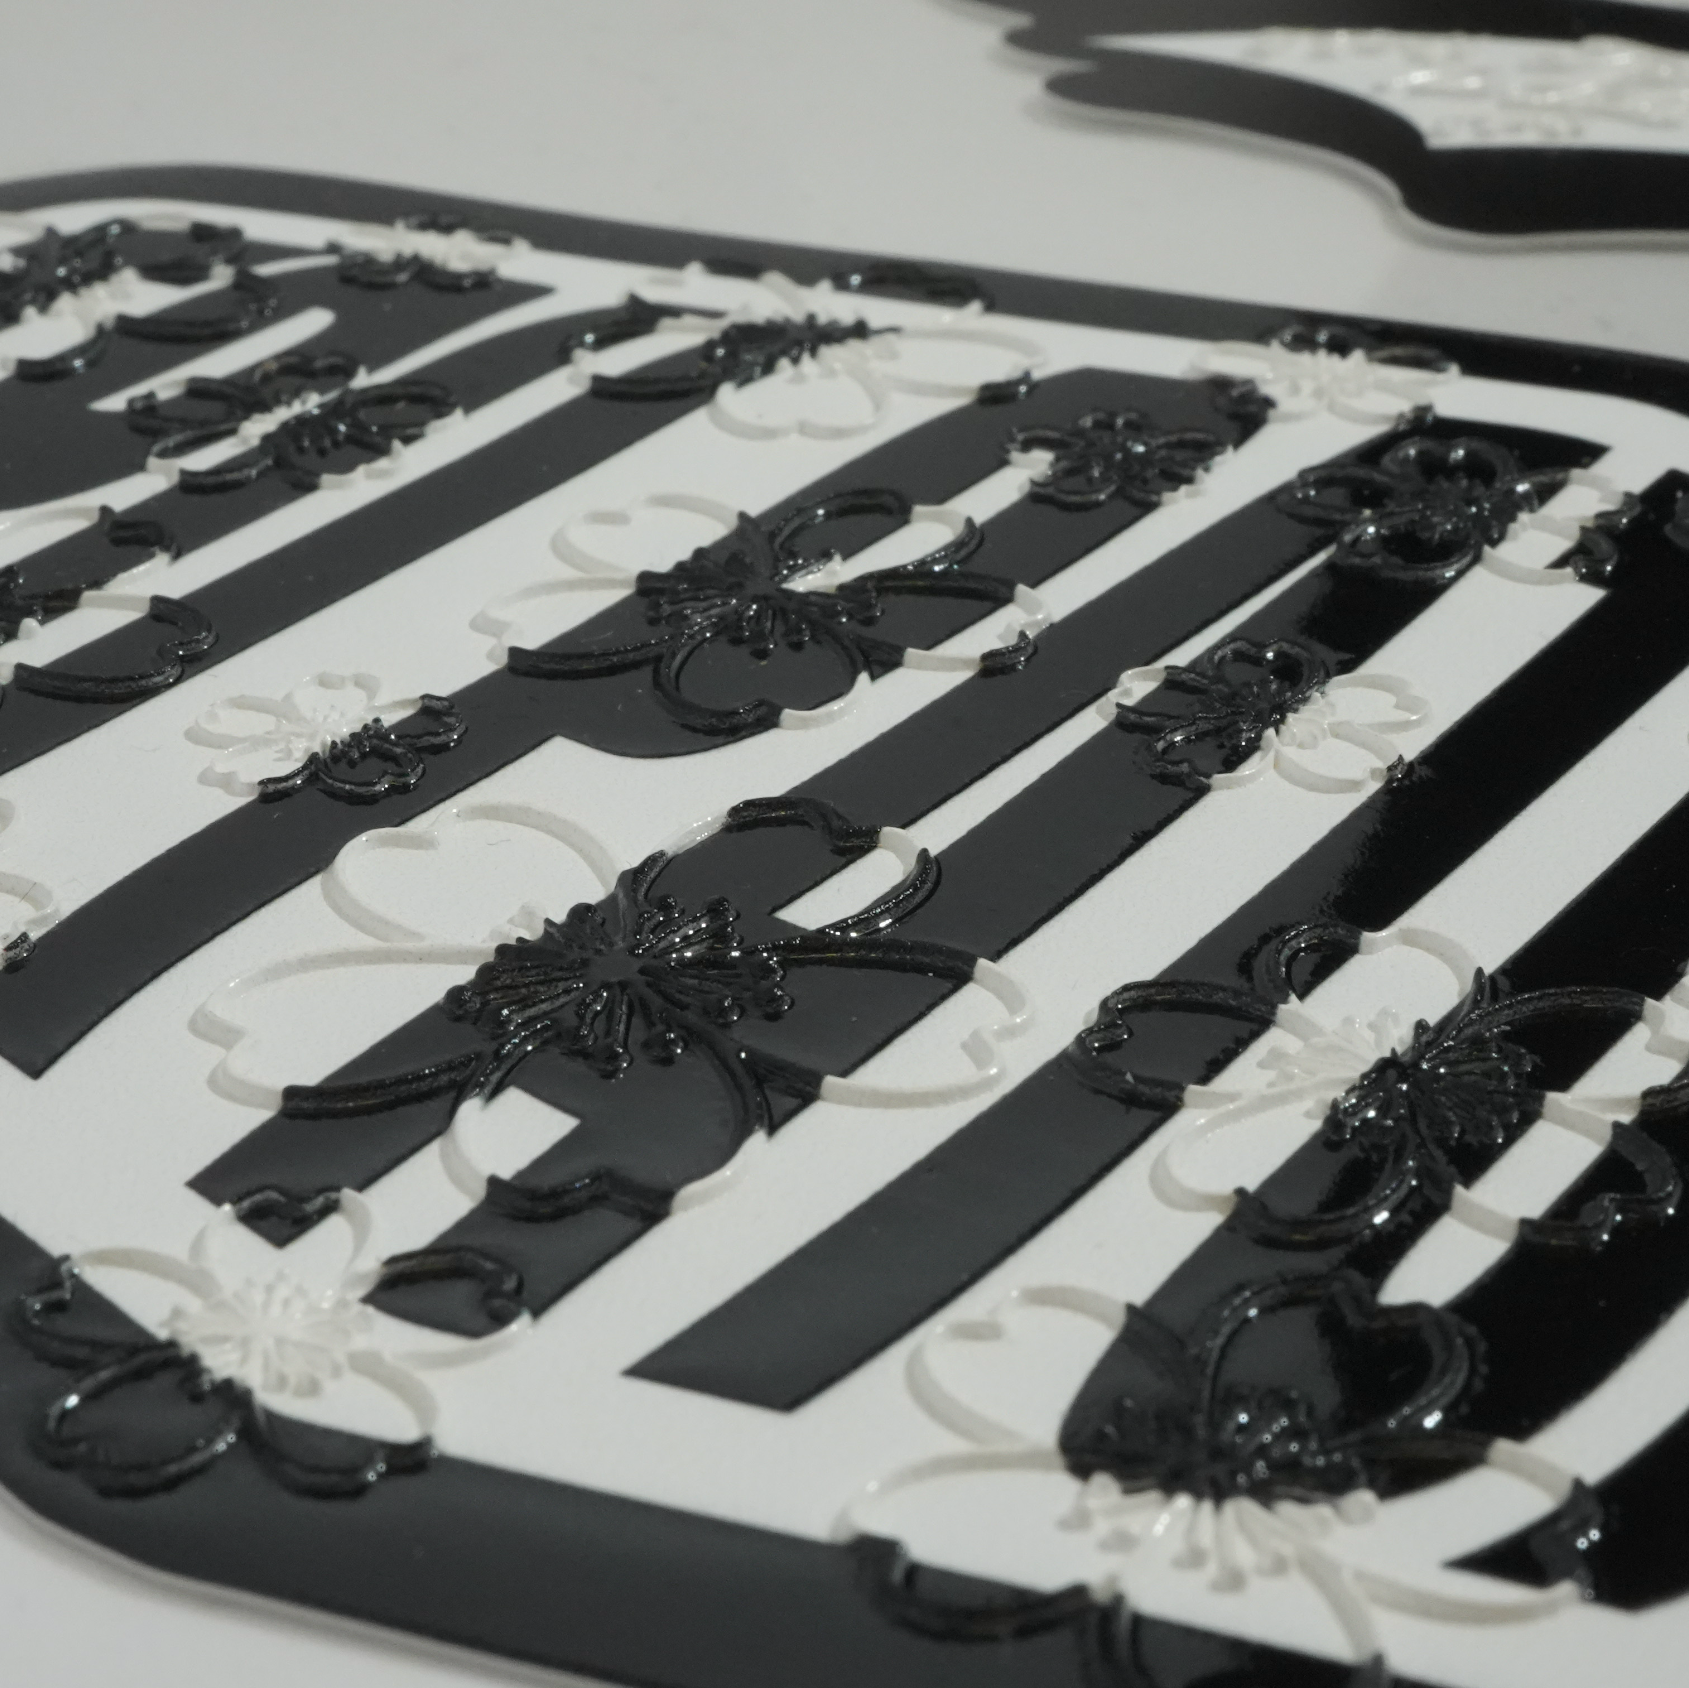
TPU patches can be customised with different finish details depending on your artwork. You can request raised areas, gloss highlights, different thickness levels, background colours and outline colours in the notes box when uploading your design.
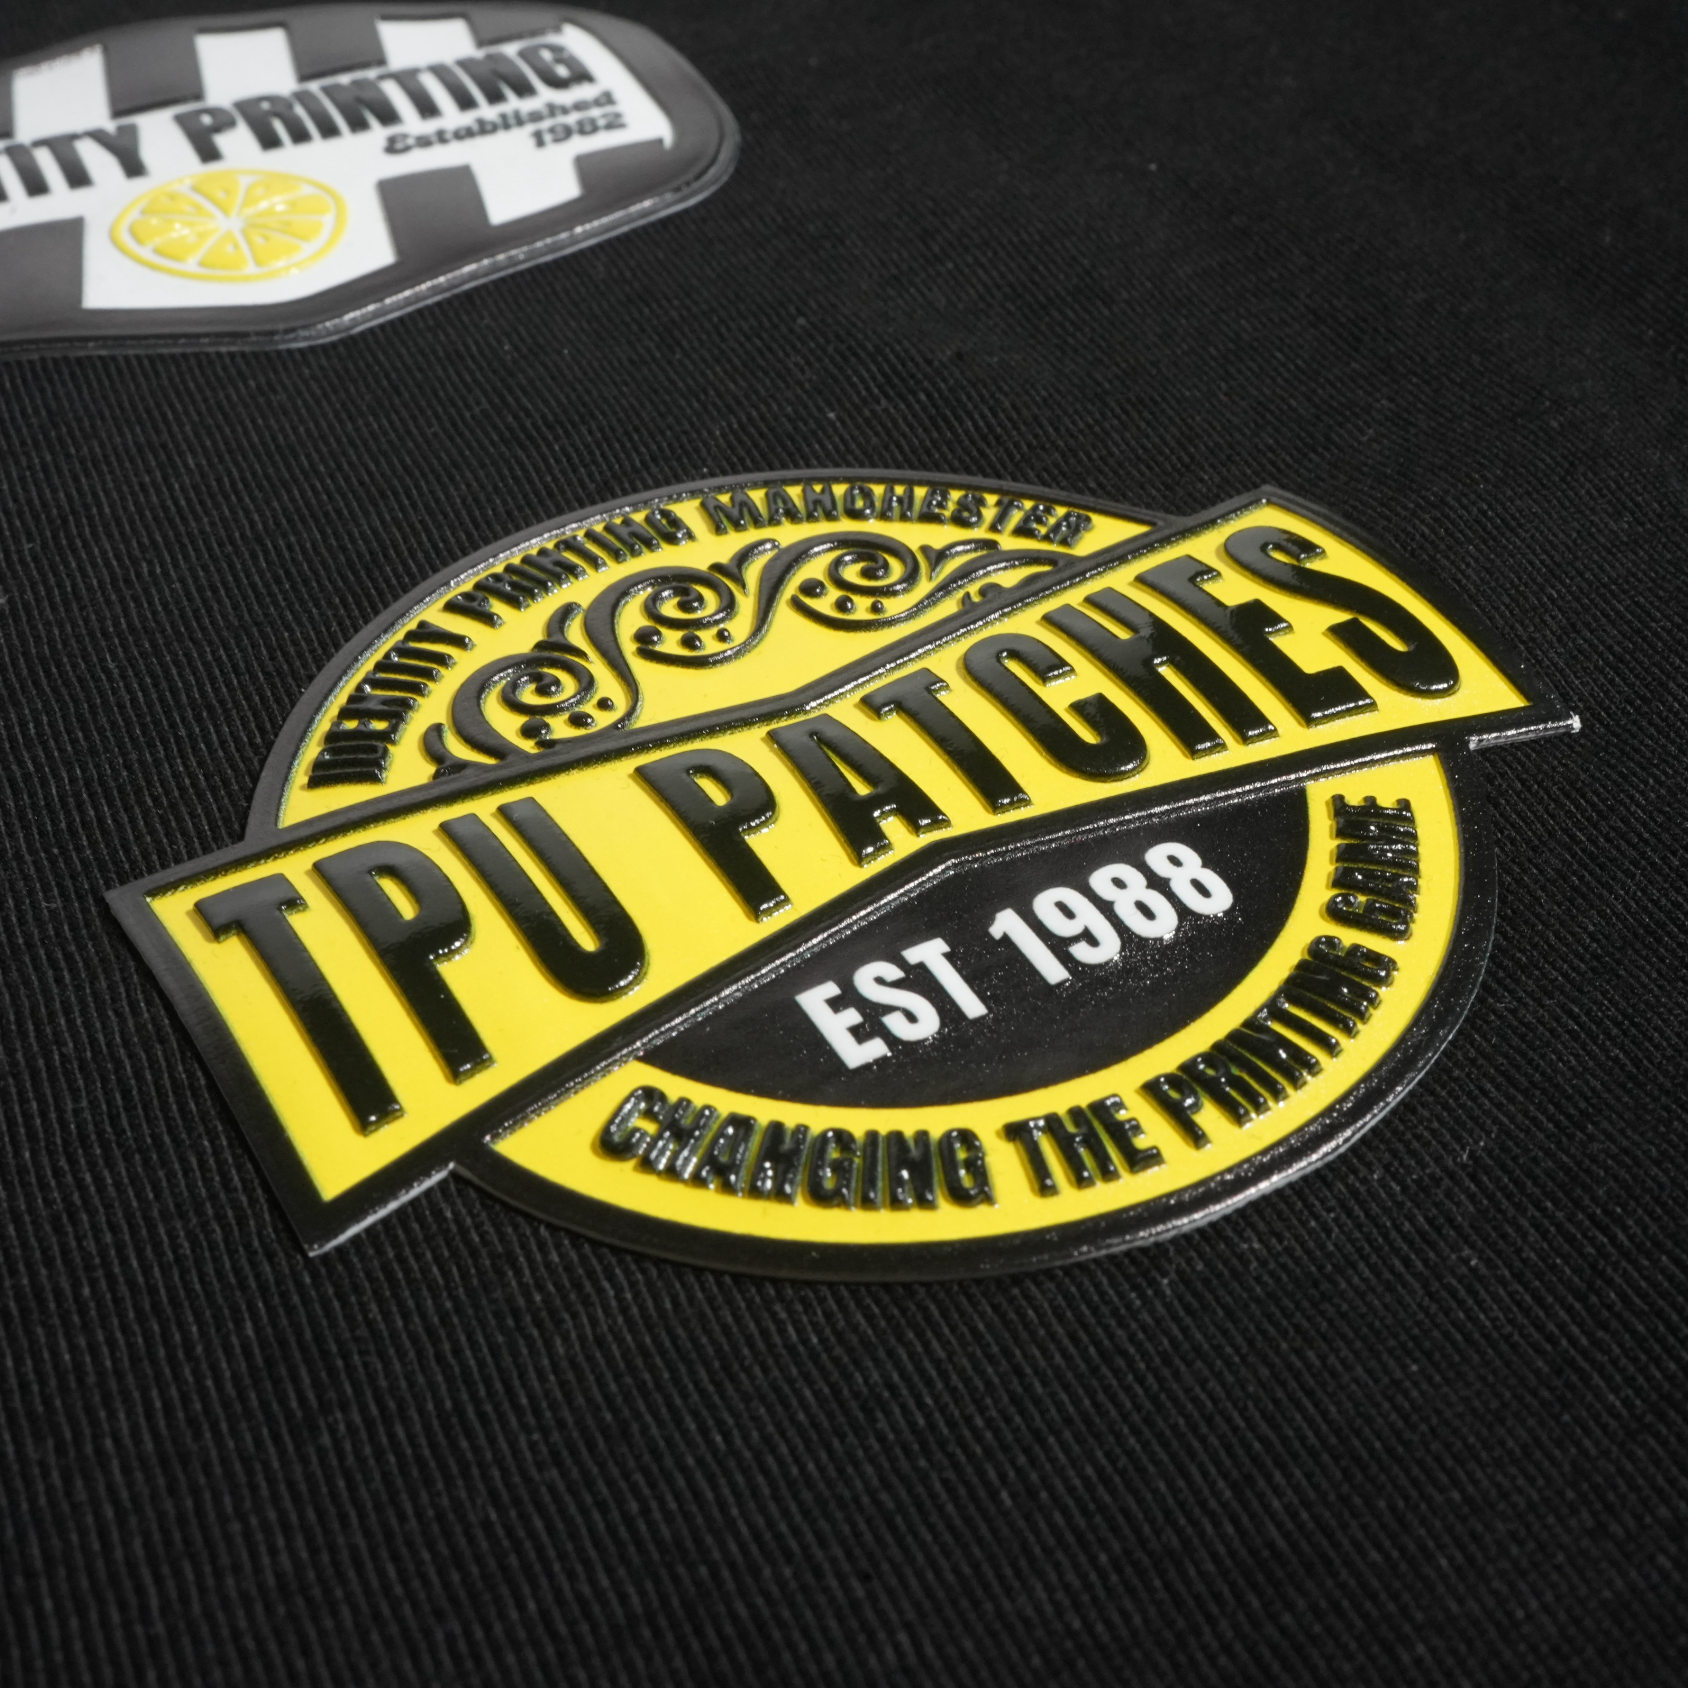
Raised Areas
Choose which parts of the design should stand proud.
Gloss Details
Add glossy areas to highlight key parts of the logo.
Thickness Levels
Some parts can be made thicker or thinner than others for extra depth.

Background & Outline Colours
Choose a die-cut base colour or outline to frame the design.
Choosing TPU Size
Small logo or statement placement?
Choose your TPU patch size based on where the design will be applied. Smaller sizes are ideal for breast logos, sleeve badges, caps and bags, while larger sizes work best for chest prints, back designs and oversized brand details.
TPU Sample Pack
See the raised finish before you order.
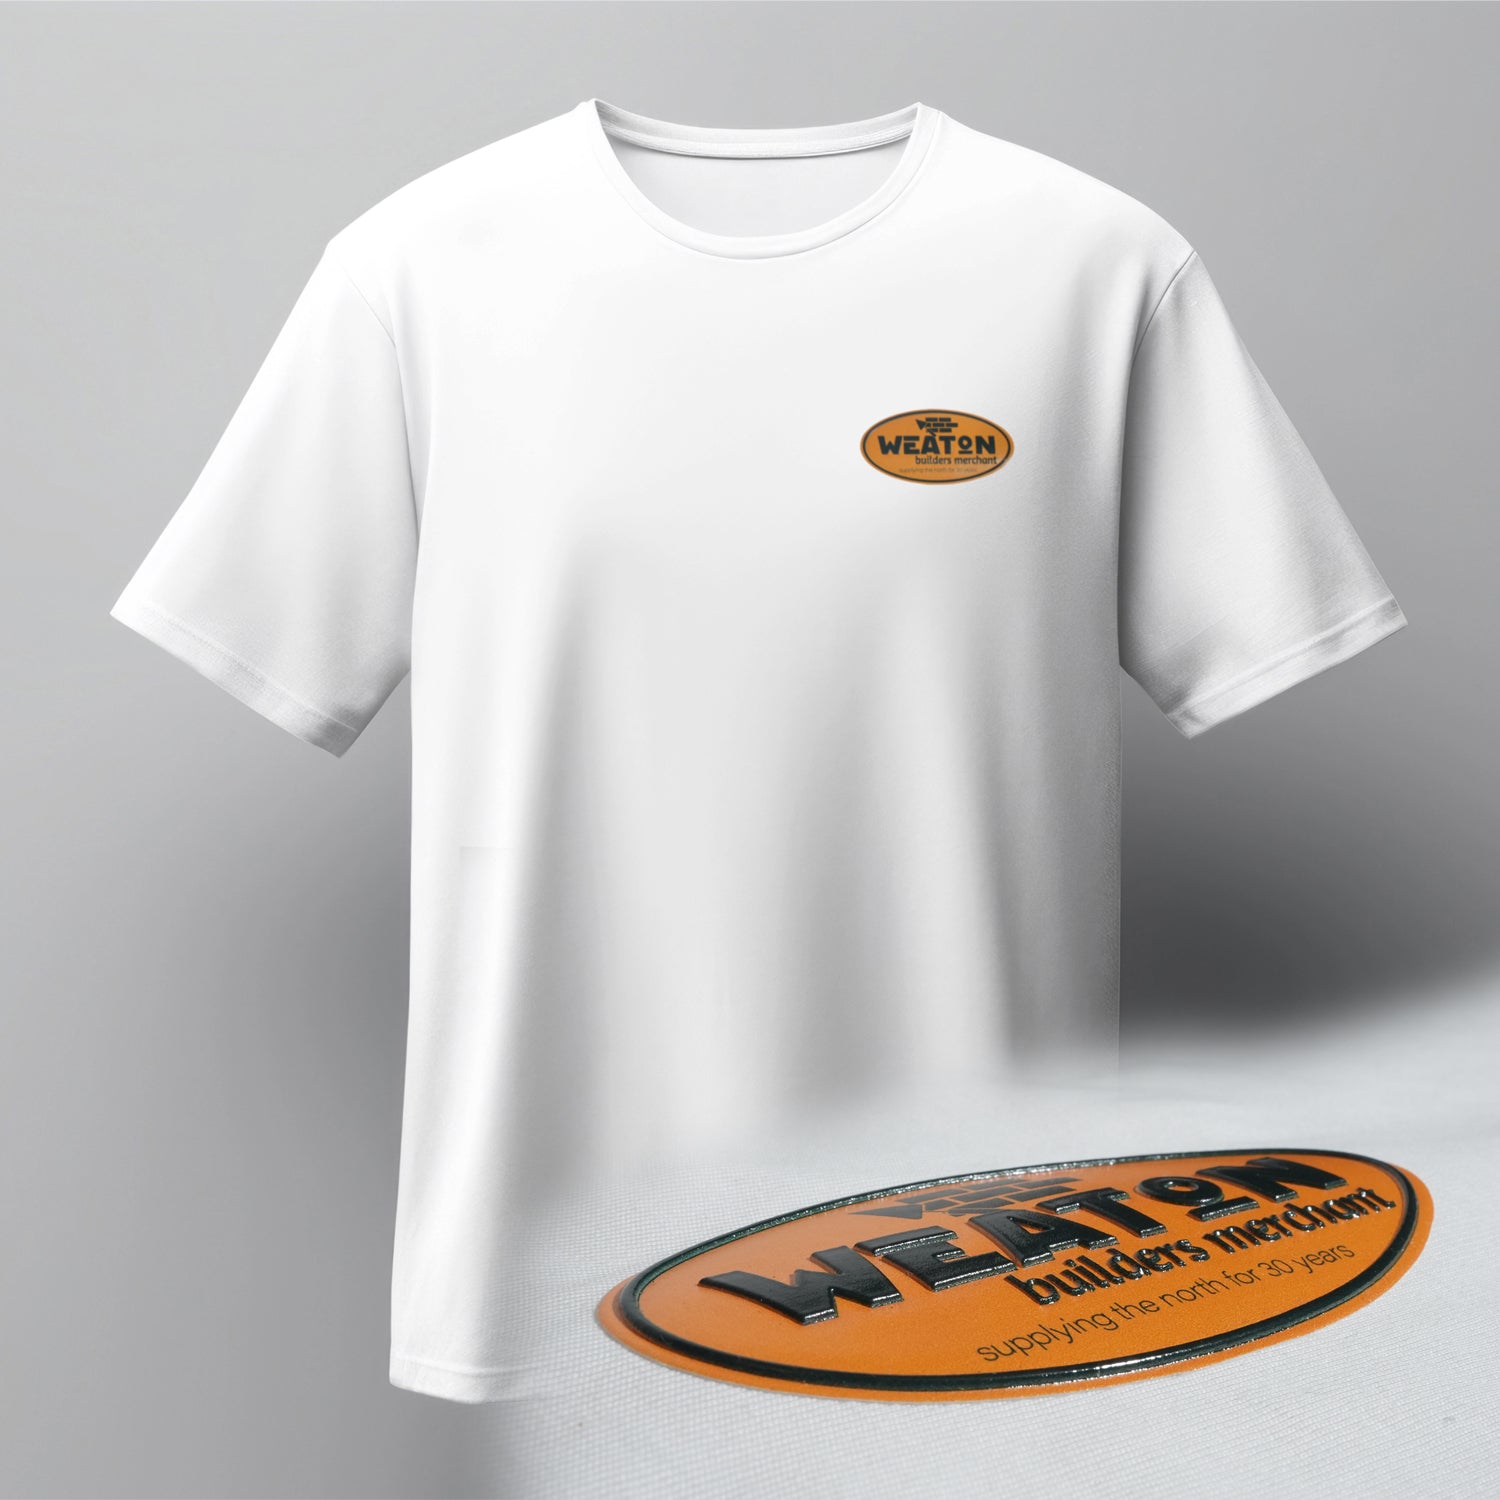
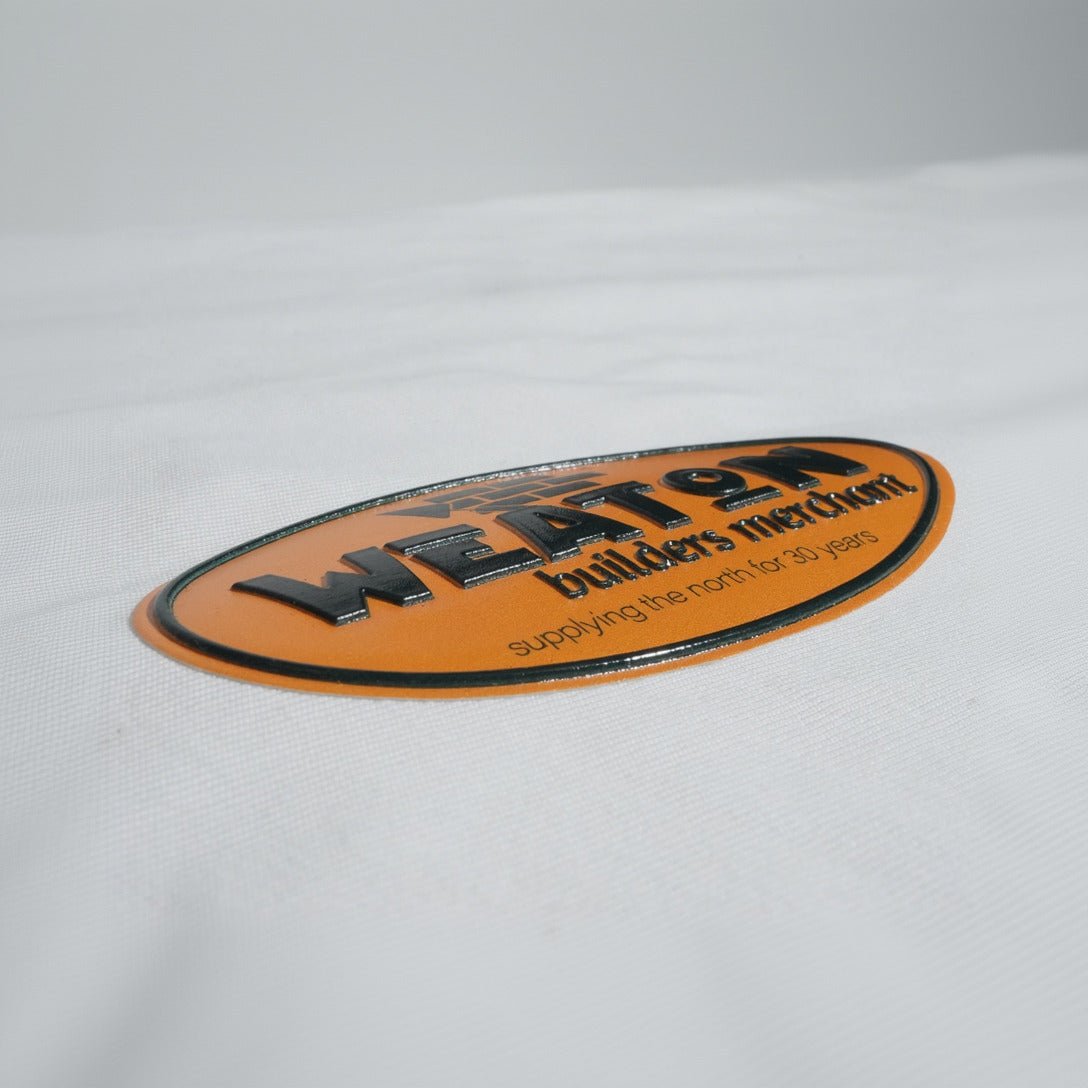
Not sure if TPU is right for your brand? Order a sample pack to see and feel the raised 3D High Build finish, gloss details, textured areas and patch-style effect before placing a custom order.
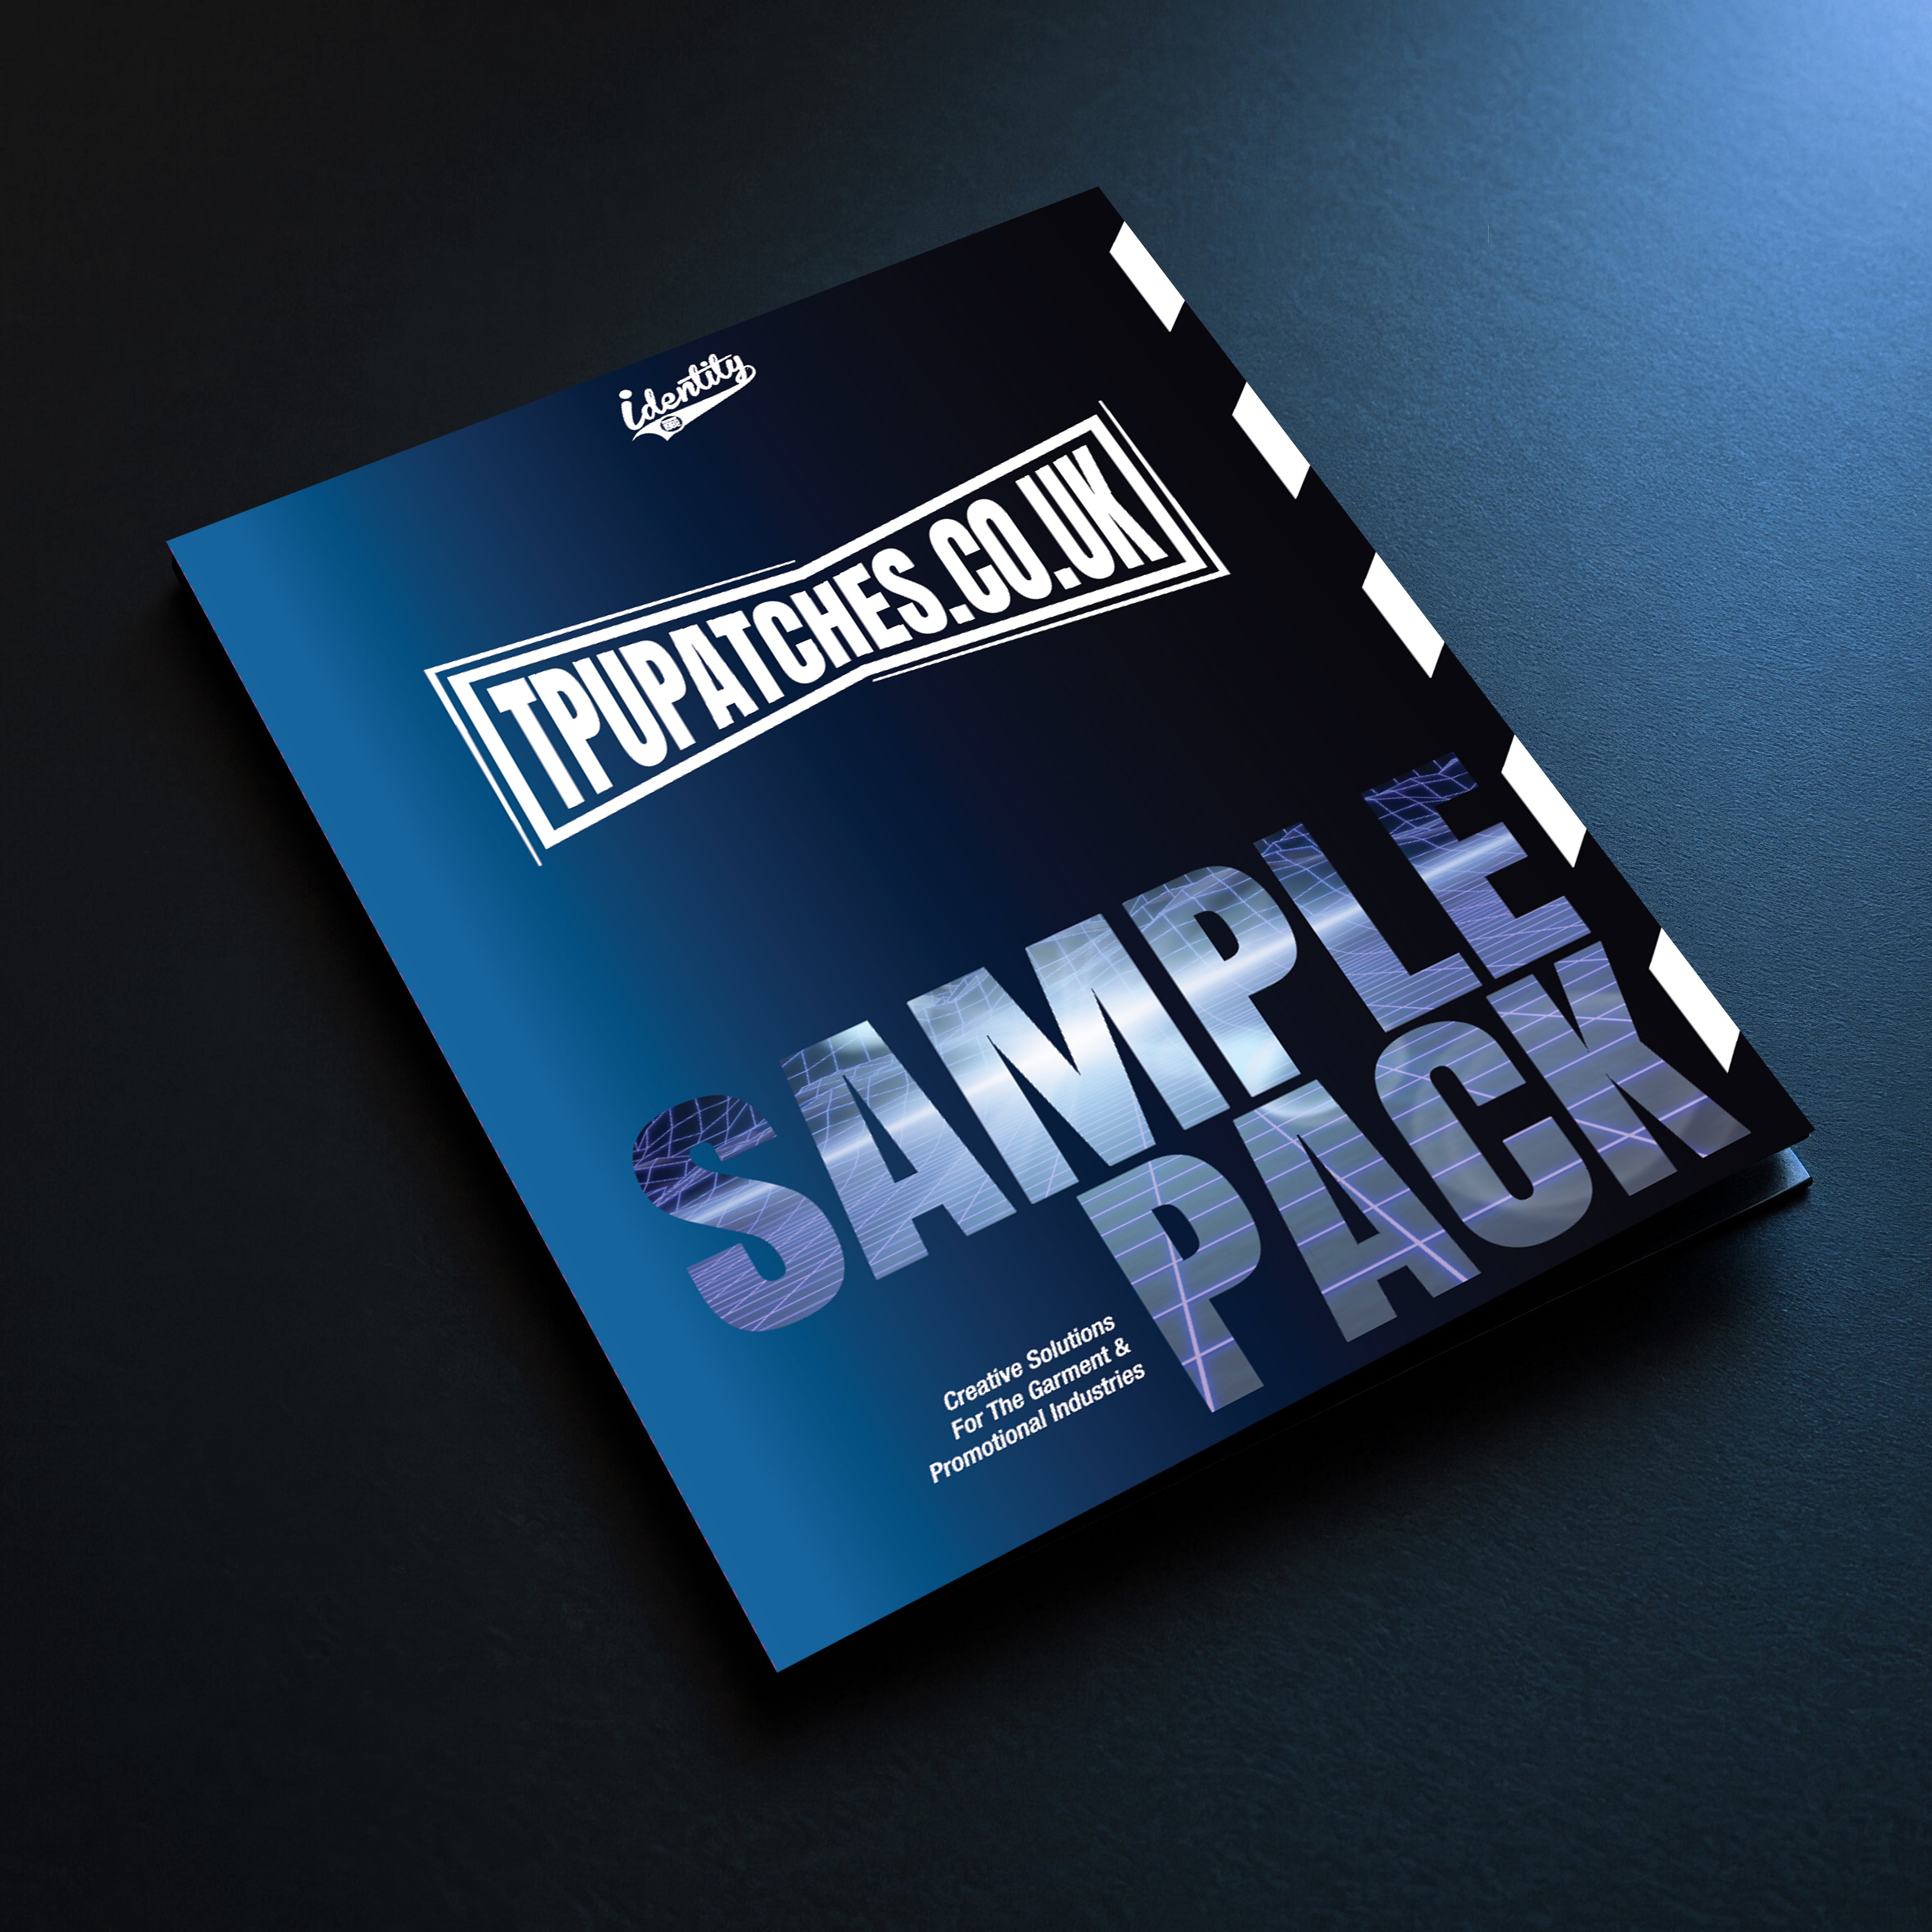
See and feel the difference before placing a full order. Our TPU Sample Pack includes examples of raised 3D High Build finishes, gloss details, textured areas and patch-style effects so you can test the quality for yourself.
Perfect if you want to compare TPU against standard DTF, check the rubberised feel, or show customers the finish before ordering custom patches.
What’s included:
- Raised TPU 3D High Build samples
- Gloss and textured finish examples
- Pressed finish references
- DTF vs TPU sample
- Useful for testing, showing customers and planning future orders